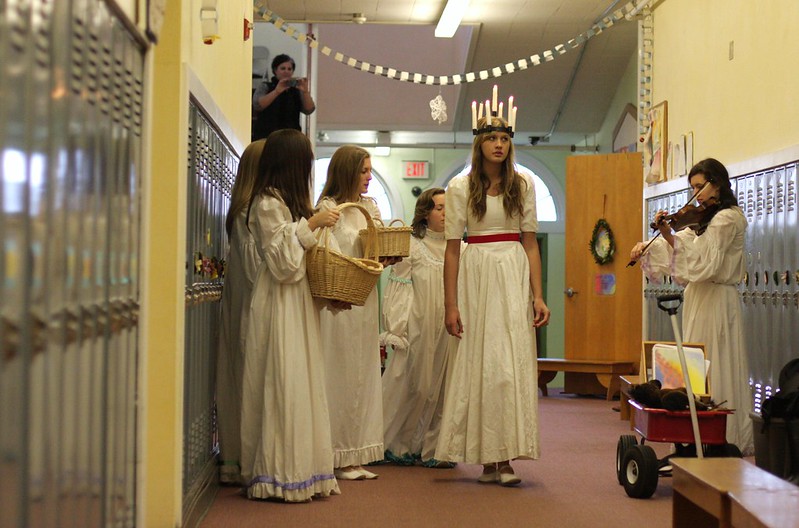
Our Santa Lucia day was full of beauty and excitement. Truth be told, it may have been a bit too much excitement - I am exhausted. I just don't think I have the energy to articulate my thoughts on such a special day, especially thoughts on my sweet boy who was named after St. Lucia.
In the meantime, I thought I would share a craft I learned at our Heart of Advent event this year. It's a simple but stunning wool roving star. When I made mine at the school I thought to myself, this is something K could make, and I was right - she picked it up quite easily and now wants to make more.

What you'll need:
cardboard or heavy gauge wire (that is still pliable enough to form into a star)
wool roving in your choice of color
gold cord or embroidery floss
small bell
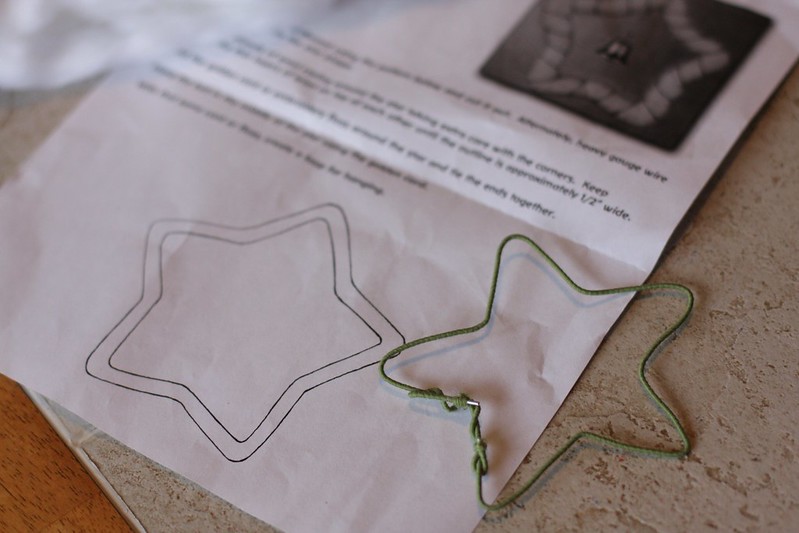
To begin either trace the pattern below onto cardboard and then cut it out or you can do what we did - shape heavy gauged wire into a star form using the same pattern as a guide. Trim or fold in the excess wire but try not to have it end at a point on the star as it might prick little fingers even after the roving layers. I did the wire shaping for K because it was a bit fidgety for her.
Please note - I do not have a scanner so I just photographed the star pattern. On my computer screen it comes up about a 1/2" bigger than the actual size. Our pattern measures 4" from the tip of the star to the bottom points as well as from the left point to the right point. But I am guessing if you traced it off the computer screen the 1/2" or so wouldn't make a big difference.
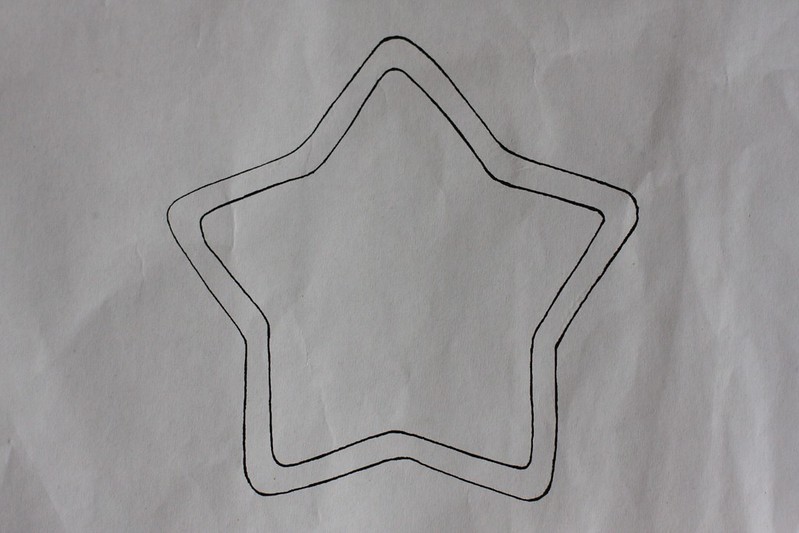
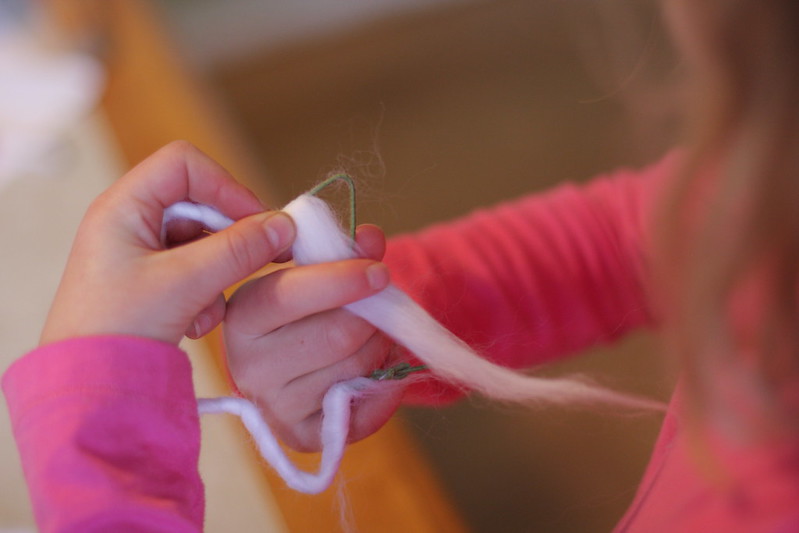
Now that you have you star shape take a thin strand of wool roving and wind it around the star taking extra care with the corners.(Just like with wet felting - you always have to have lots of thin layers. It works much better than trying to do it with a couple of thick layers - trust me!) Keep winding the thin layers until the outline is approximately 1/2" wide or to what looks good to you.
Notice how the star is slowly getting thicker in the photos below

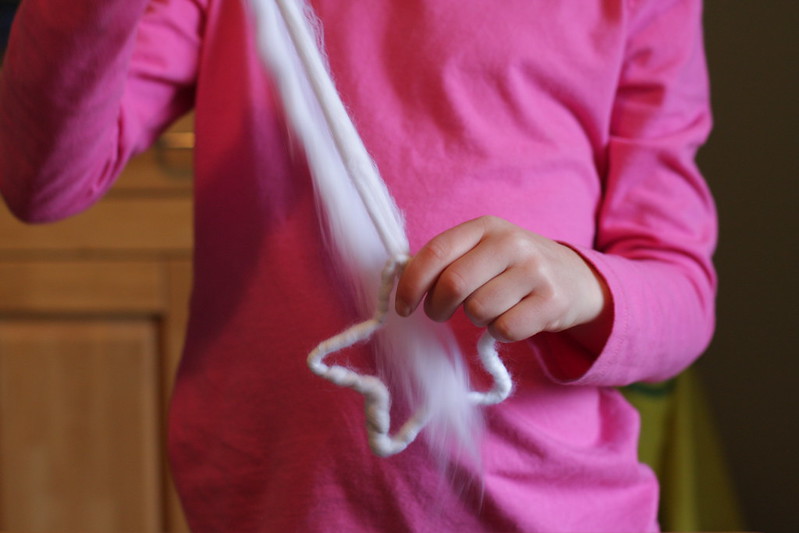


I don't have any photos of the last steps but I think you get the idea...
In a similar manner, wind the gold floss around the star and tie the ends together.
Hang the bell in the middle of the star using the gold floss, as well.
With the same floss, create a loop for hanging.
Tah dah - you're done! I hope you enjoy making them as much as K and I did. Happy creating!!