Showing posts with label tutorial. Show all posts

Wednesday, October 26, 2016

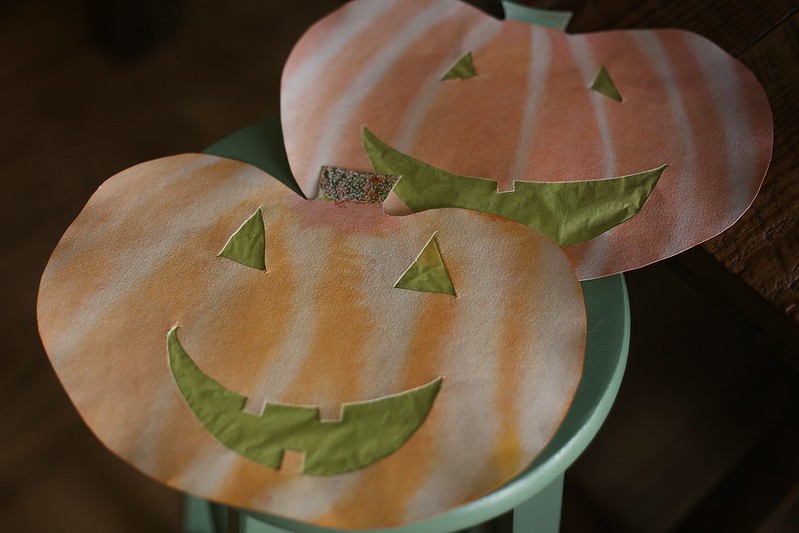
sniffles and jack o' lantern painting

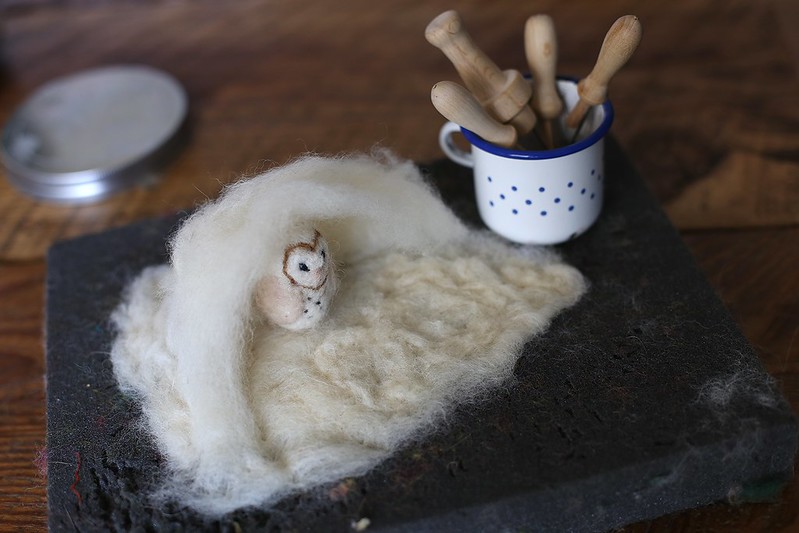
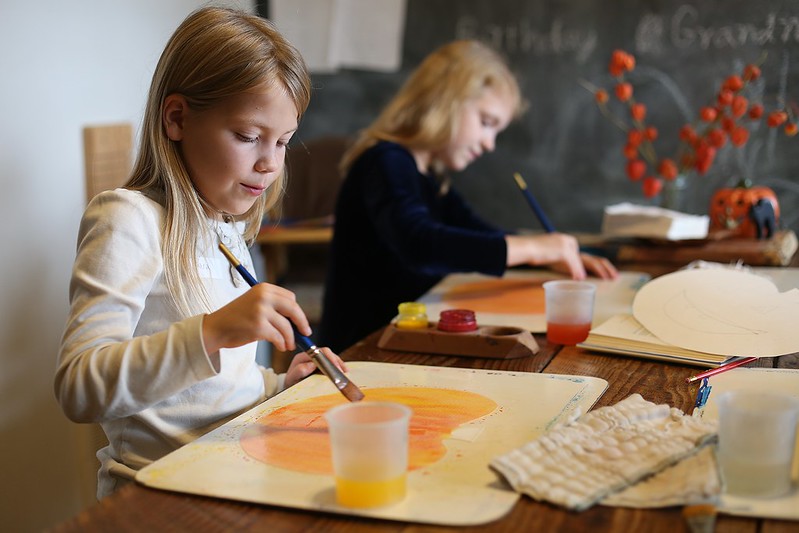
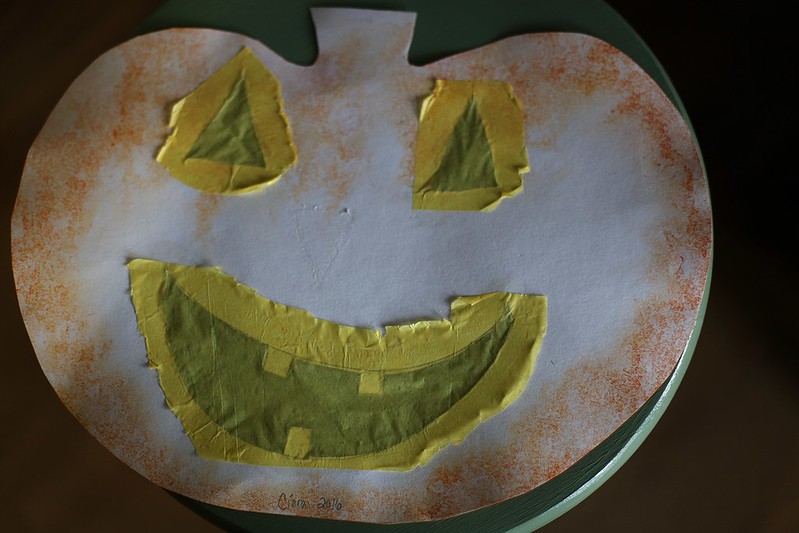
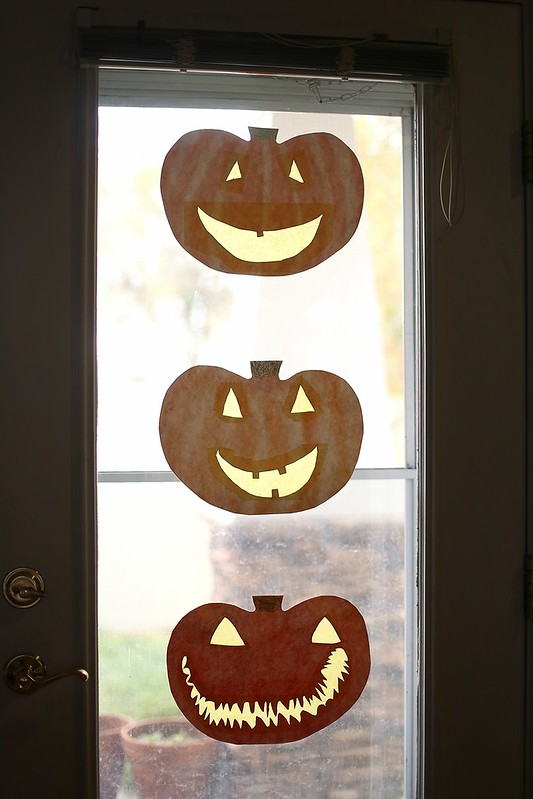
falling behind Jack O'Lanterns snuggling ripening K's needlefelting painting painting his Jack O' Lantern painted pumpkin ready to be made into a Jack O' Lantern back of C's Jack O' Lantern
done!

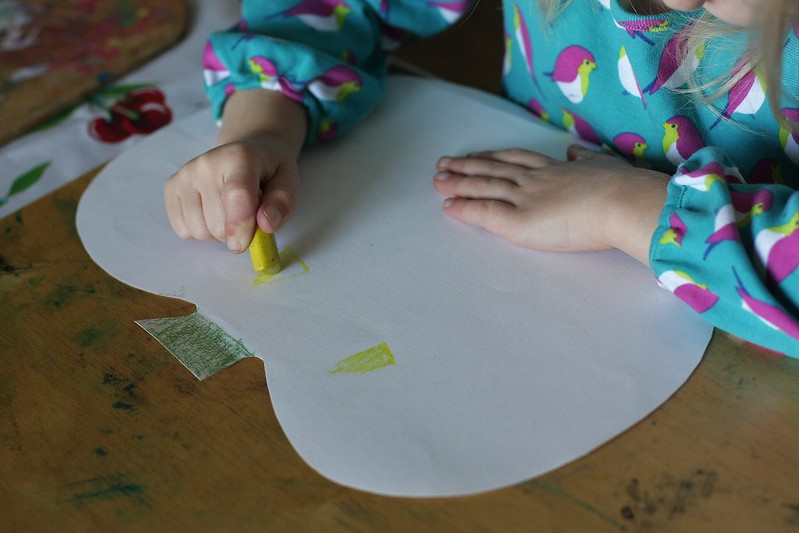
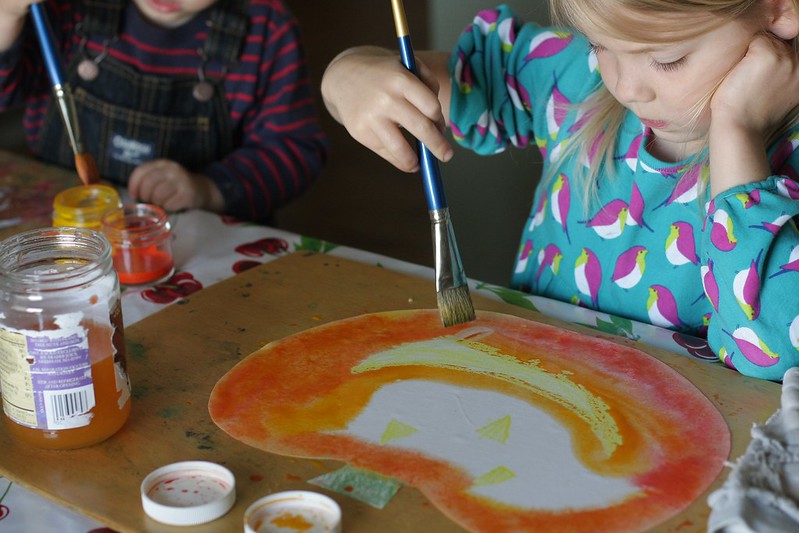
The children and I all got hit with colds this week (I blame myself for slacking with thieves and elderberry syrup for a few days). I tried to ignore it and write off our sniffles as just seasonal allergies but I guess that was really just wishful thinking on my part. We are spending the week resting all cozy and warm inside our house. Housework has fallen by the wayside (isn't  that always the first thing to go when you're sick?). Snuggling in blankets and crafting have taken over. Something about creating seems to bring comfort to my sick little ones so this seemed like the perfect time to try a craft my friend Cynthia recently shared. It is geared towards younger children (Like Little L's age) but my girls can never pass up any sort of crafting opportunity and joined in.
 
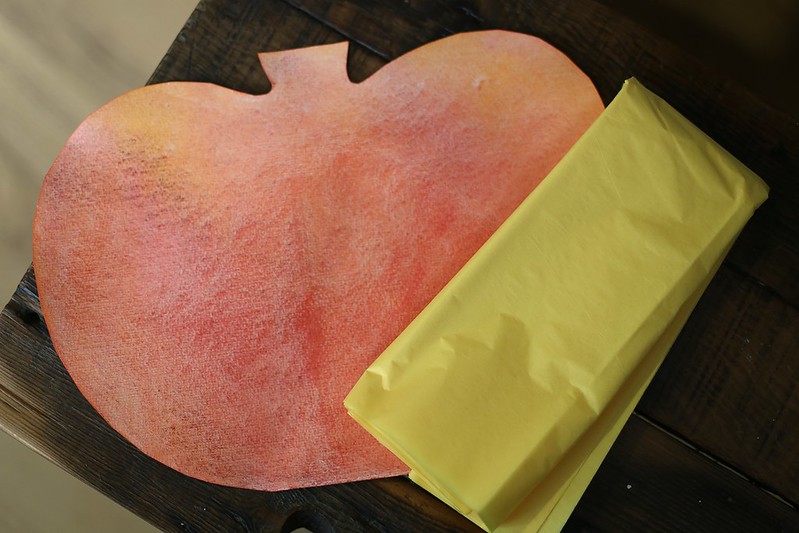
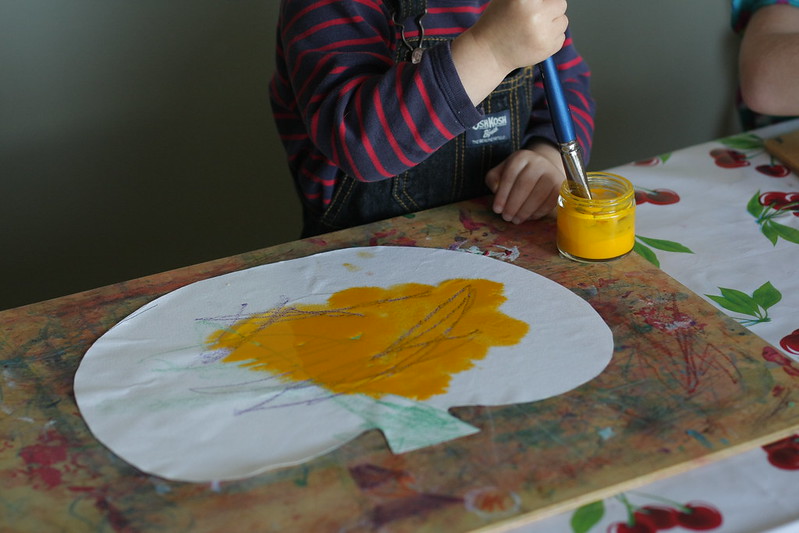
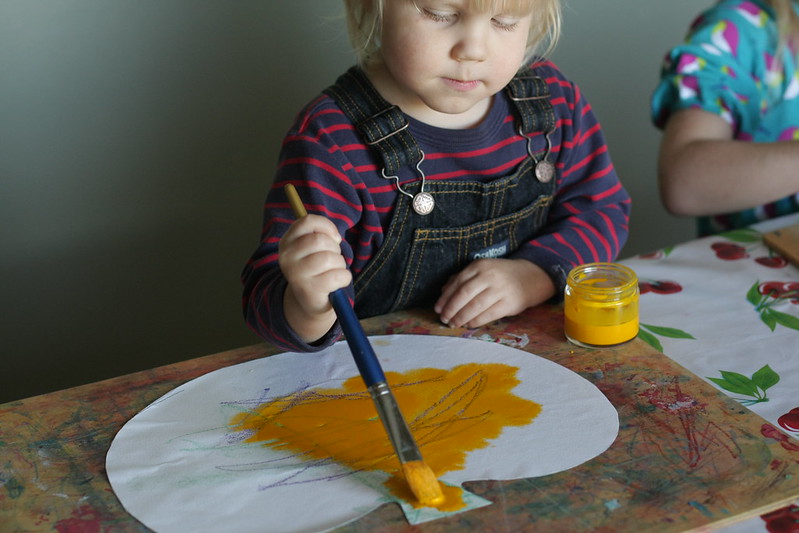
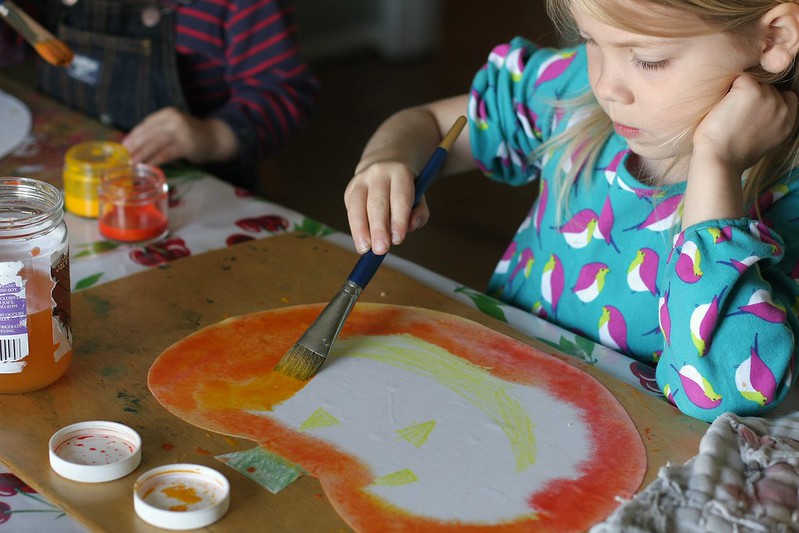
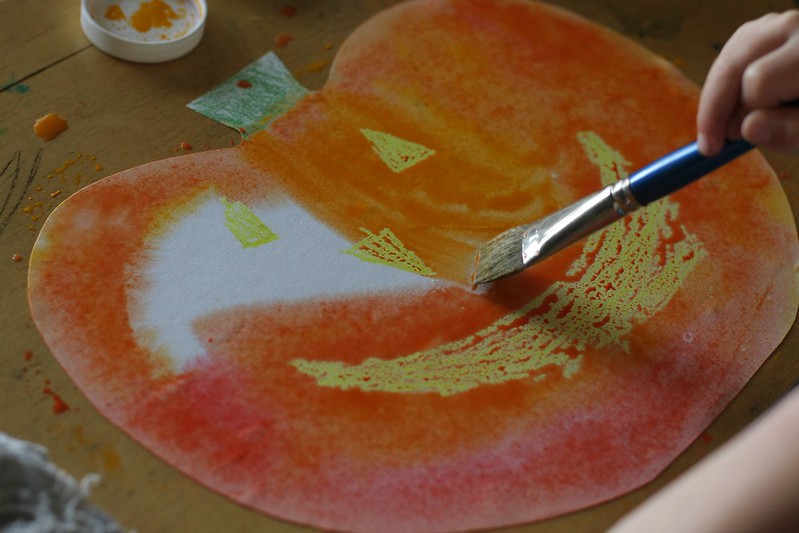
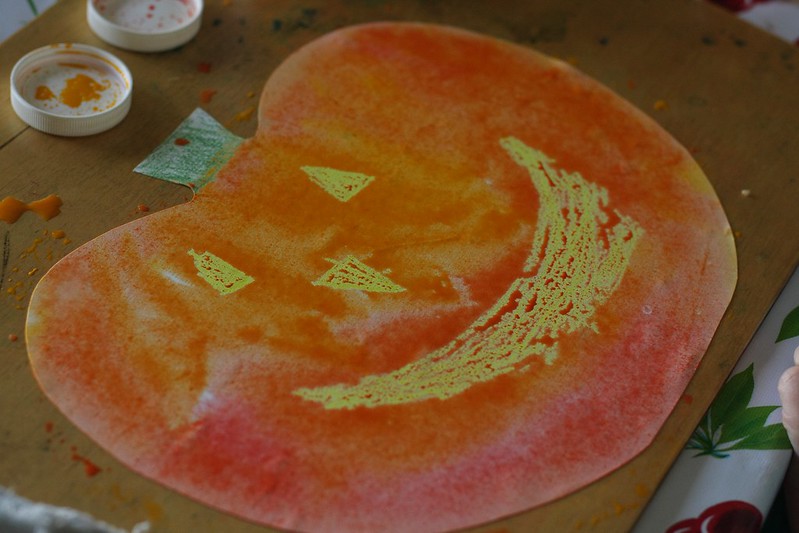
The project is really similar to our watercolor Jack O' Lanterns except instead of using beeswax crayons to make their faces, you cut them out. Then you glue yellow tissue paper to the back so they look like they are illuminated by a candle. I think they are pretty sweet. I love (and should have expected) that Little L's Jack O' Lantern has shark teeth.

Here is our favorite Halloween song to sing while you work on your own Jack O' Lanterns:

Jack O' Lantern, Jack O' Lantern, 
How your light it does shine, 
Sitting up upon the window, 
And your light it does shine. 

You were once an orange pumpkin, 
Sitting on a pumpkin vine, 
Now you are my Jack O' Lantern, 
And your light it is mine.

Have a beautiful rest of the week, friends!
Share/Bookmark

Sunday, September 21, 2014

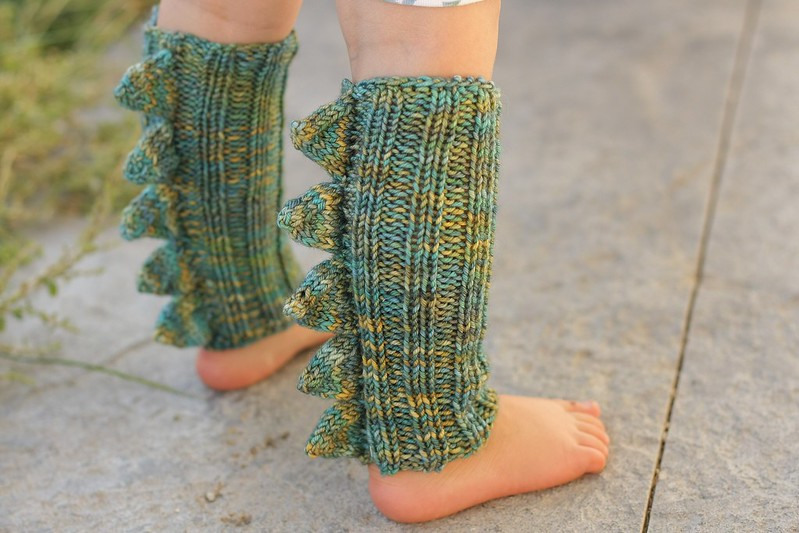
Dragon Legs (and arms!) Knitting Pattern

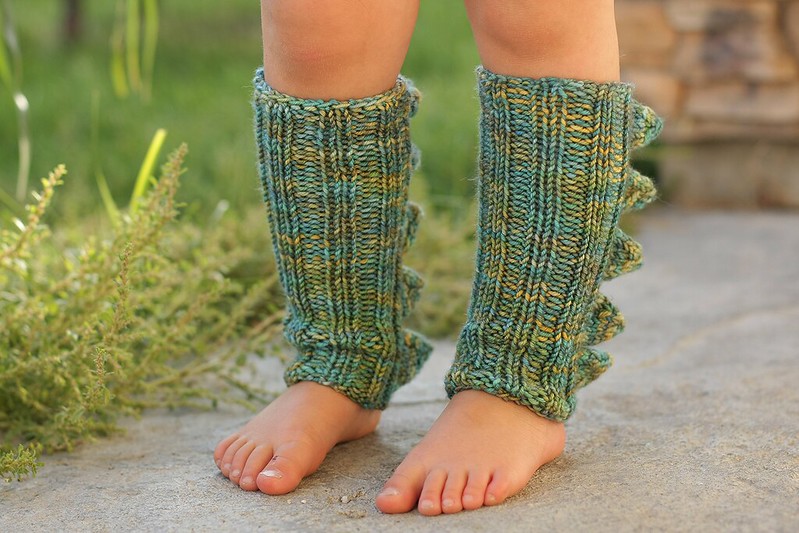
Tutorial IMG_5911 tutorial Remember Little L's dragon balaclava I was working on? You know, the one that I ran out of yarn with only an ear left to knit and I had to buy another skein of yarn just to knit that little ear? Well, I finished it. I plan to take more pictures of it after I block it (if I can ever get it off Little L's head!), but here is a little sneak peek: dragon balaclava We love it. After I completed it I felt that he needed some more dragon goodness with the leftover yarn. I did have almost an entire skein, after all. So I decided to give him a complete dragon look with some spiked legs and arms, inspired by the spikes I used on his balaclava. Not only are these little warmers fun, but functional too, as they will help him stay warm in the upcoming season. My family and I think these are so cute ferocious that I just had to share the pattern with all of you.
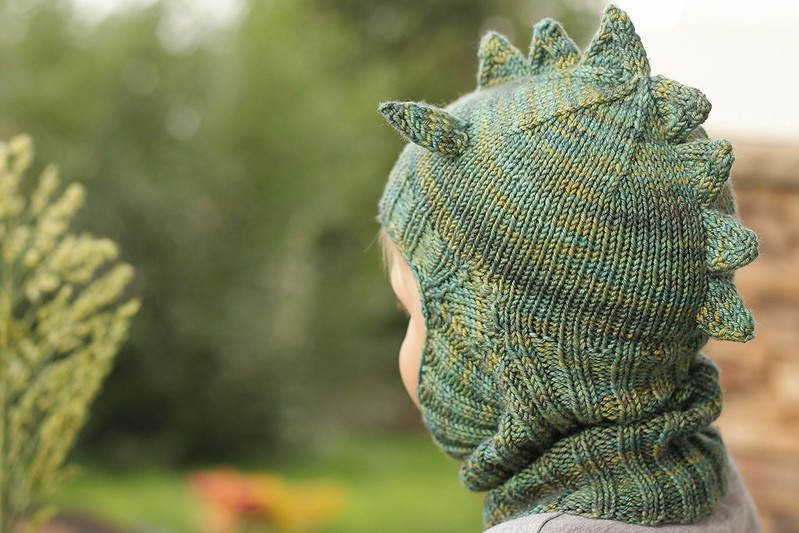

You'll need:
size 8 (5.0 mm) double pointed needles
Worsted weight yarn of your choice

Warmers:
You can add the dragon spikes to any preexisting leg warmer pattern you may have or you can use the pattern I made up:
Cast on 32 stitches and divide the stitches on three double pointed needles. Join to knit in the round using a knit 2 purl 2 ribbing.  Continue the k2p2 until you reach your desired length. For my little guy (age 3 1/2) I knit the leg warmers to 8". Sew in the ends and knit a second one. Once you have finished your leg warmers, you are ready to add the spikes.

Spikes:
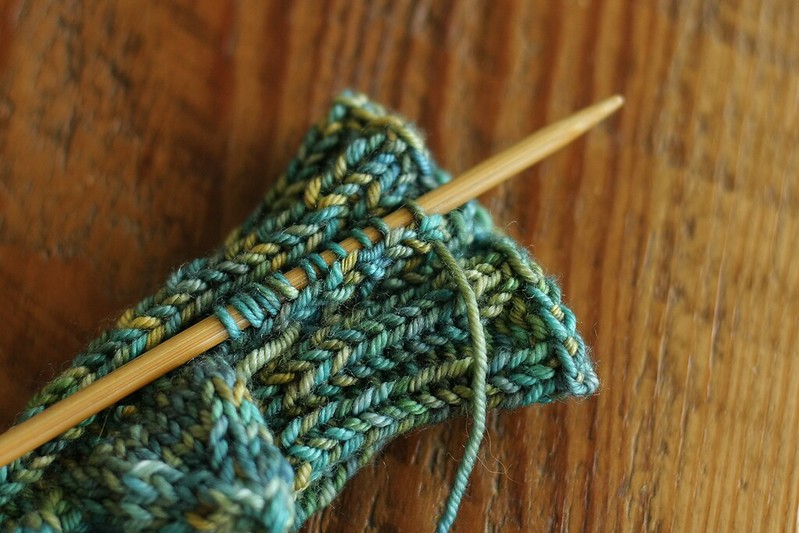
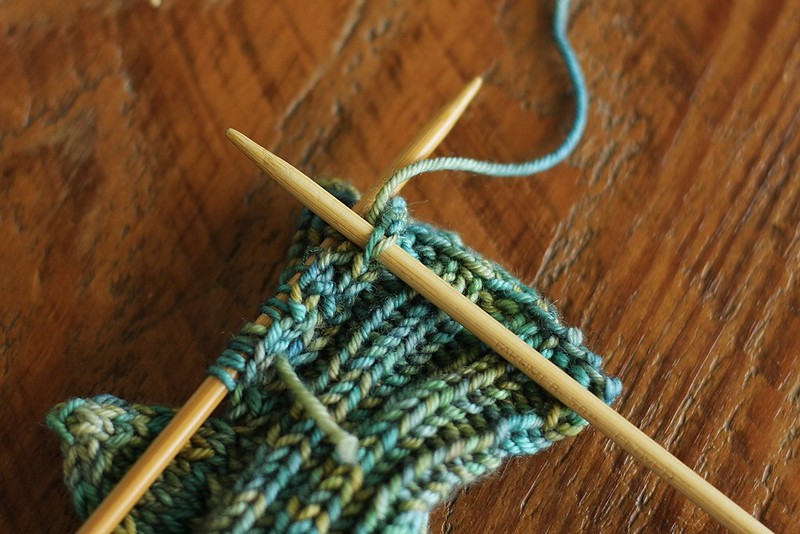
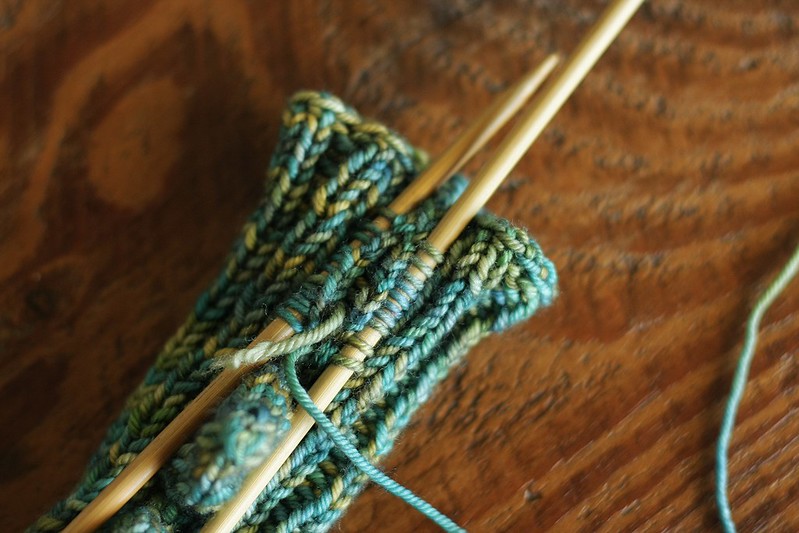
Pick up and knit ten stitches vertically from one of your K2 rows with a double pointed needle. Then pick up and knit another ten knit stitches parallel to the other ten stitches with another double pointed needle. Now divide the stitches onto three double pointed needles. These twenty stitches will be knit in round.

  tutorial Picking up the first stitch tutorial ten stitches tutorial IMG_5616 Picking up the next ten parallel stitches IMG_5638 dividing the twenty stitches onto double pointed needles.

Knit as follows:
Row 1: Place marker at beginning of the round, knit all twenty stitches.
Row 2: K1, SSK (slip slip knit), K4, K2tog (knit 2 together), K2, SSK, K4, K2tog, K1 -  4 stitches decreased.
Row 3: Knit all stitches
Row 4: K1, SSK, K2, K2tog, K2, SSK, K2, K2tog, K1
Row 5: Knit all stitches
Row 6: K1, SSK, K2tog, K2, SSK, K2tog, K1
Row 7: K all stitches
Row 8: K1, SKP (slip knit pass over), K2, SKP, K1 - 6 stitches left on needles.
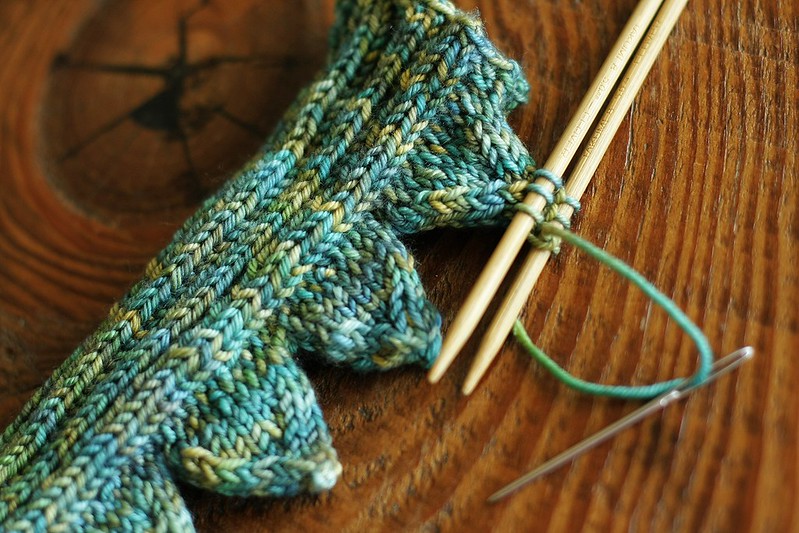
Place the first 3 stitches on one needle and the next 3 on a second needle. Use the Kitchener stitch to close.

Repeat the above steps for each spike. For my 8" leg warmers I did five spikes on each.
IMG_5649 tutorial Kitchener close tutorial All done!
tutorial I'll share pictures of the complete outfit after Michaelmas.

Additional notes:
-Pattern link on ravelry can be found here.
-I was able to knit him two leg warmers and two smaller arm warmers with that one skein.
-You could easily add the spikes to socks and gloves, too. The possibilities are endless. Have fun with it!

Share/Bookmark

Thursday, October 31, 2013

Gray & Gold for Little L (and a last minute Jack o' Lantern craft)

gray and gold IMG_8327 IMG_8332 IMG_8329 IMG_8399 gray and gold IMG_8370 IMG_8681 IMG_8647 IMG_8546 IMG_8703 IMG_8573 IMG_8761

It seems that I am only knitting for Little L as of late but I promise that isn't the case. Toddler knits just seems to fly off the needles compared to child or adult knits.

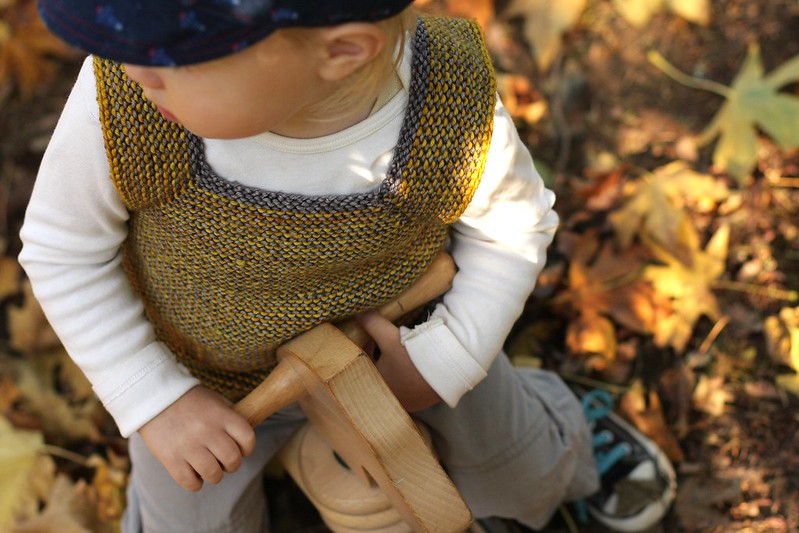
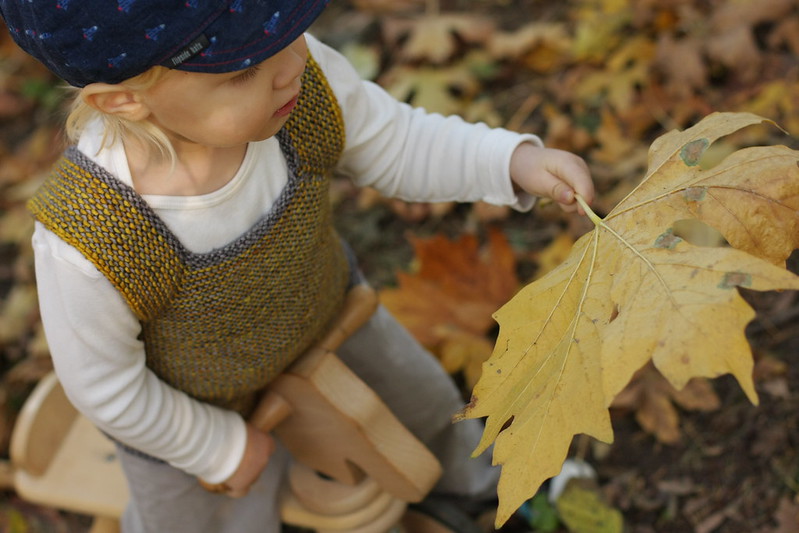
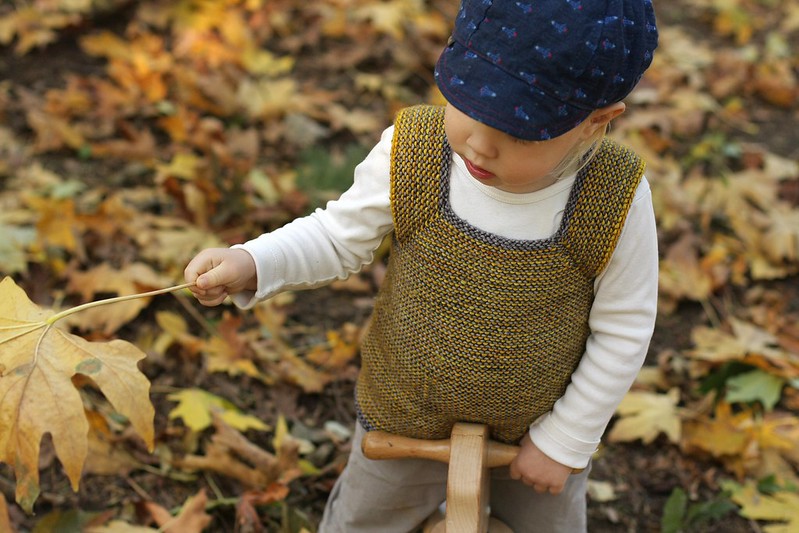
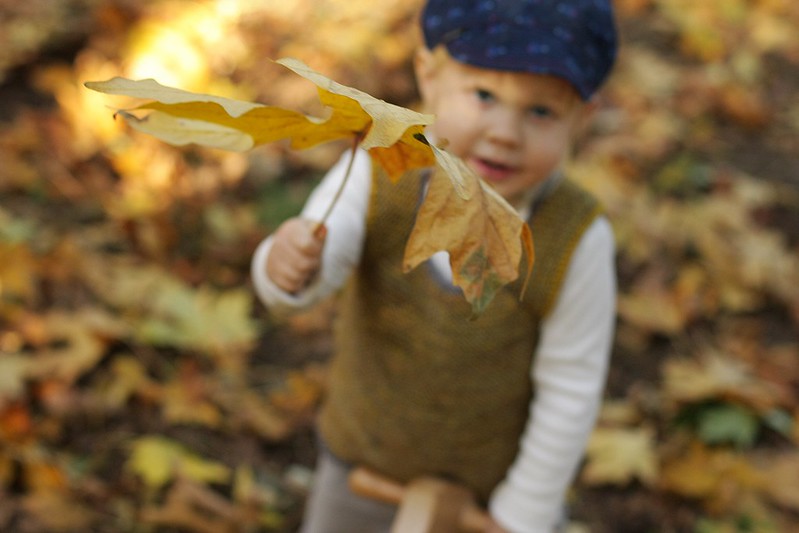
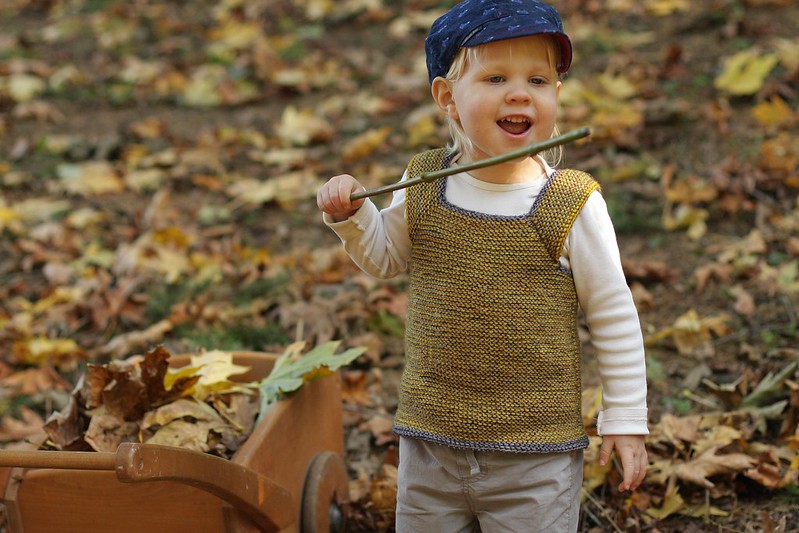
The sun is still shining in our woods so I thought it best to photograph Little L in his gray and gold milo while I still could (and before it became well loved and worn through, as many of our knits do).
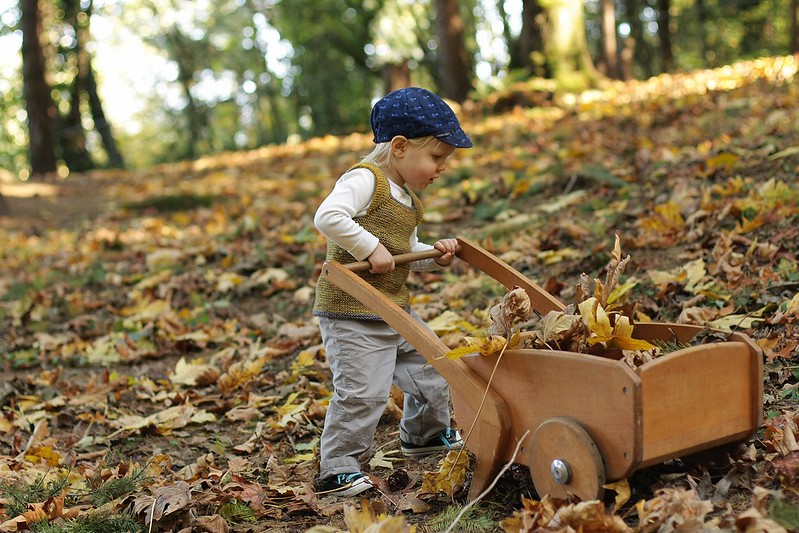
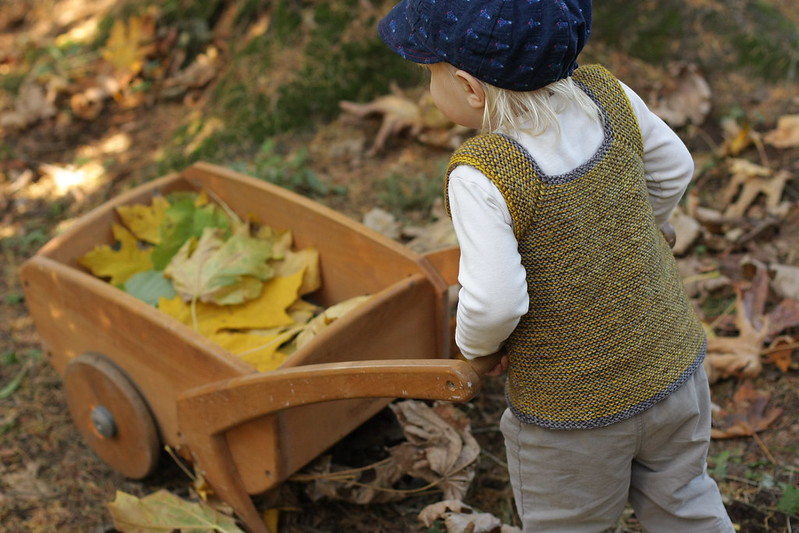
He got on his pony trike to zoom around our hills and crunch leaves but then decided he needed to clean up some of the leaves with his wheelbarrow instead. This little guy of mine loves to clean and can't handle anything out of place; very much unlike his sisters. I think he is trying to bring balance to the force our family.

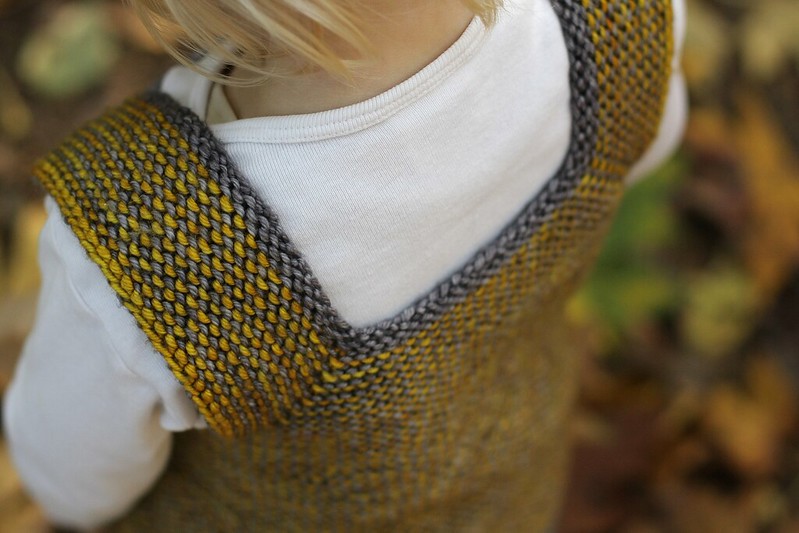
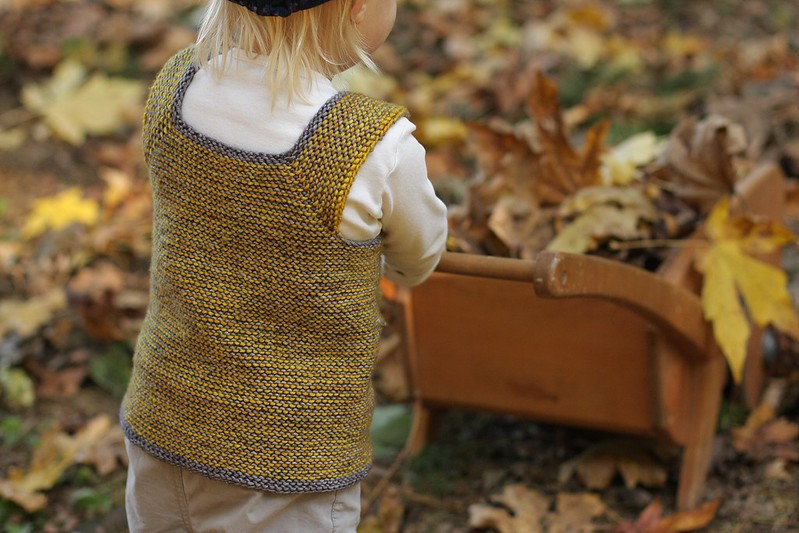
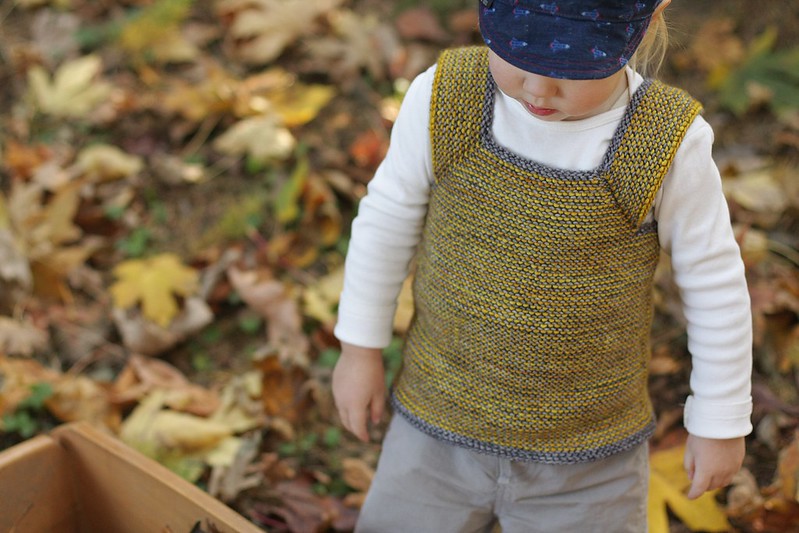
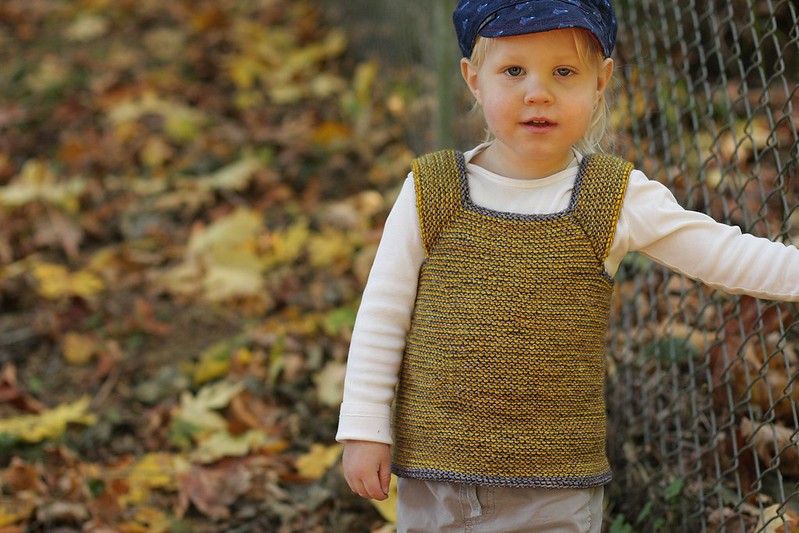
I was a bit hesitant over my color choices as I was knitting this little vest but in the end I am very pleased with it. Kevin says it looks like chainmail but I think it looks like the gray skies and gold leaves we see in autumn. I modified the pattern with worsted weight yarn and bigger needles hoping for a size 3 and I believe it worked. My guy is 2 1/2 but he is small for his age so it's a bit big on him at the moment (mostly in the armhole area) but he'll get two autumns out of it, if not more! I didn't block it out of fear that it would grow bigger. The only other mod I made was knitting the whole thing in garter stitch. You can see my notes here.
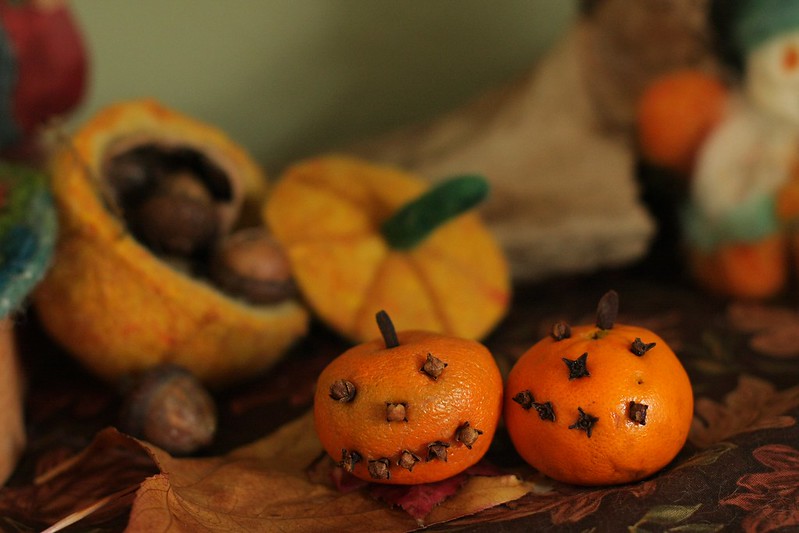
And just in case you were looking for a last minute Jack o' Lantern craft, here's something C and I made today as we sat by the fire. Jack o' Lantern oranges We just used whole cloves and stuck them in the orange to make a face (the same way you do when you decorate oranges for Christmas). Then we made a tiny hole in the top of the orange and stuck a clove in wrong side up to make the pumpkin stem. Voila! Miniature Jack o' Lanterns.
Share/Bookmark

Sunday, October 20, 2013

Waldorf watercolor jack-o-lanterns

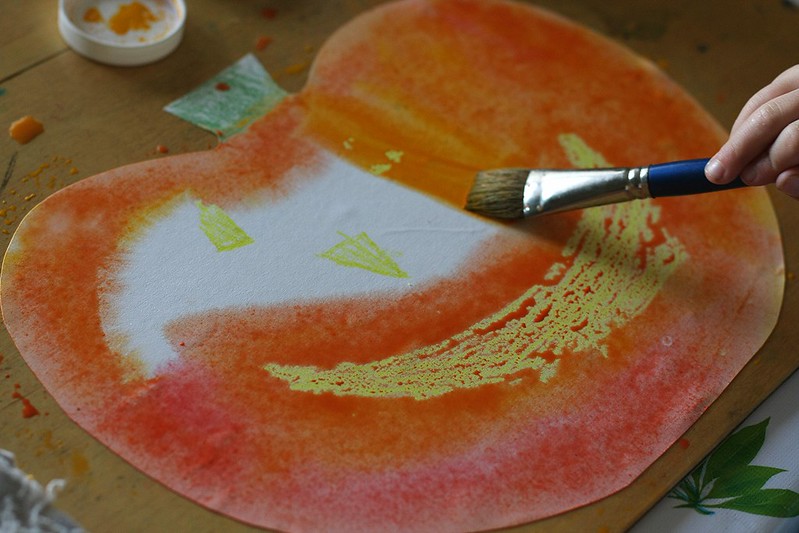
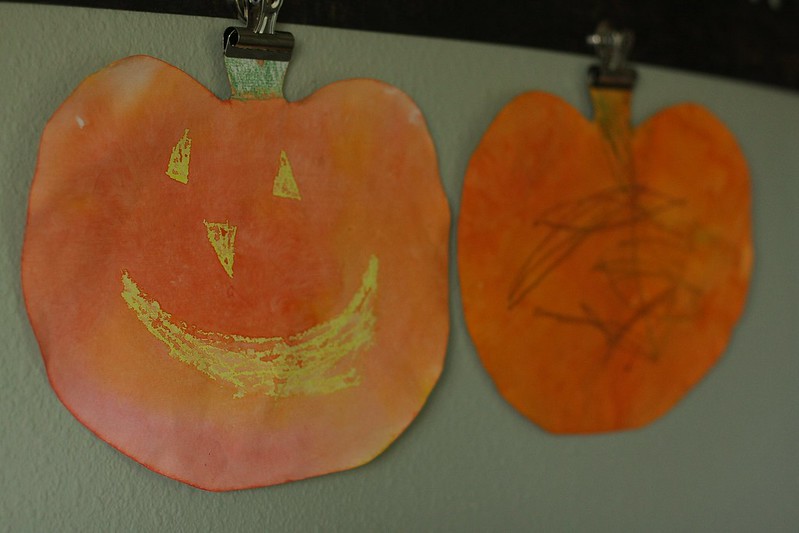
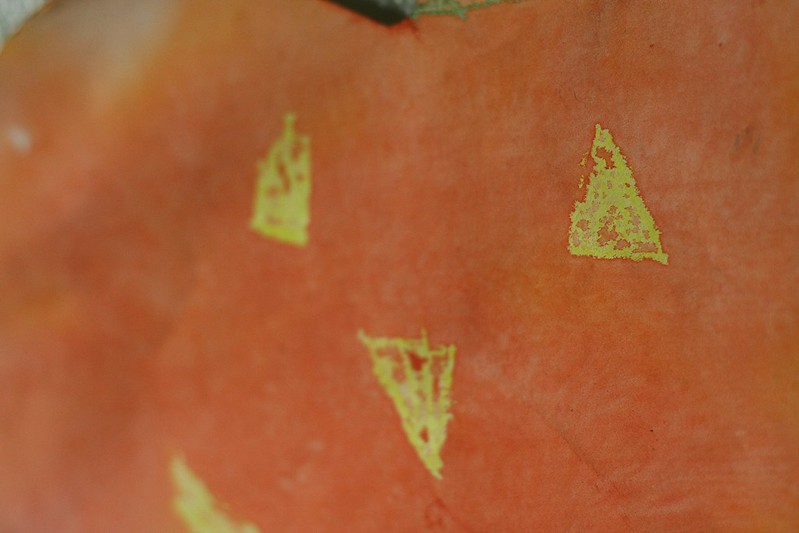
Last week I mentioned that Little L, C and I were going to do some pumpkin crafts in homeschooling. Little L would not let me forget that promise. The first thing I thought to do was a jack-o-lantern inspired by one K made in her first year of kindergarten at Portland Waldorf School. It's very similar to the magic crayon process (wax resist) except that in this, you can see the crayon markings before you paint. Here's how we did it:
IMG_7695 IMG_7701IMG_7720
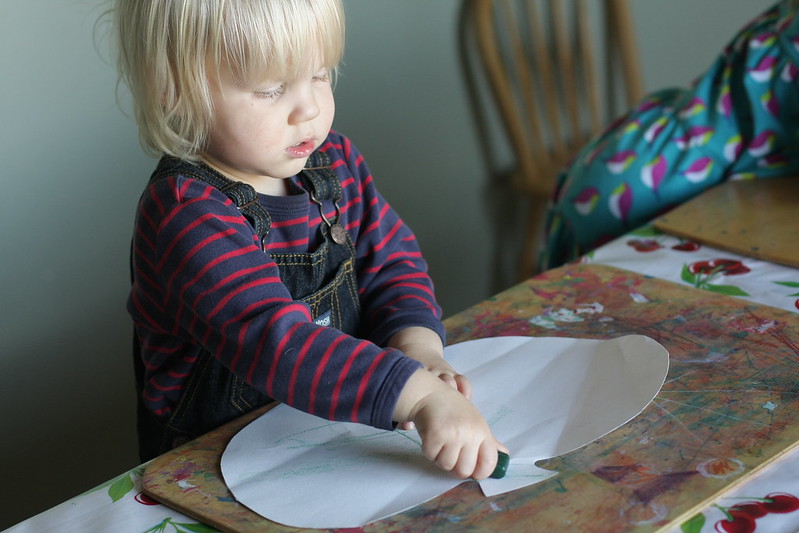
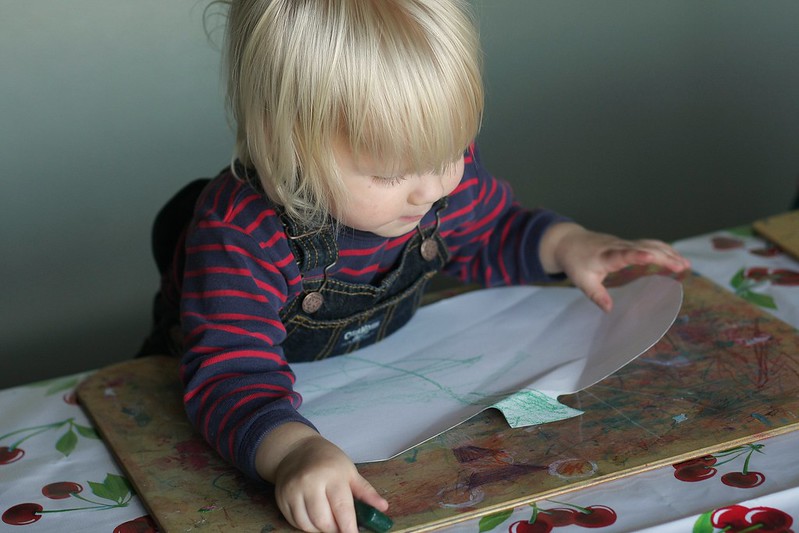
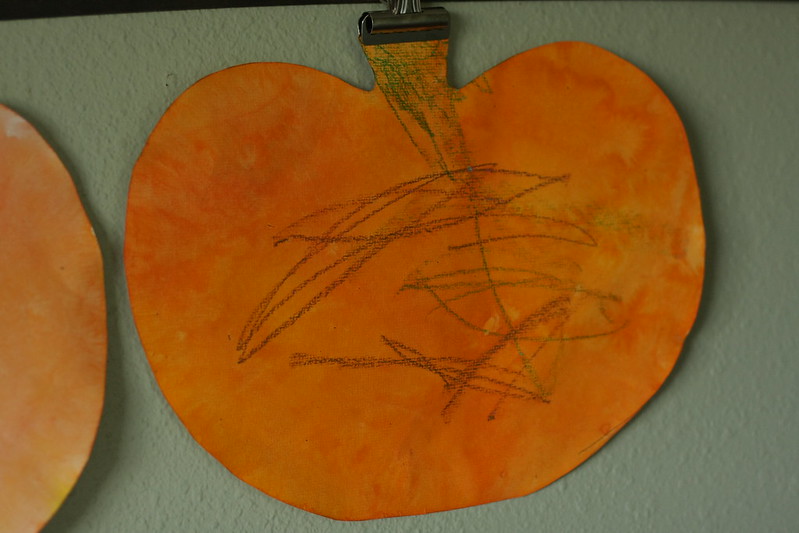
I first cut pumpkin shapes out of some of our heavy duty watercolor paper. Then I gave them to C and Little L. Using their stockmar beeswax crayons they colored in the stem of the pumpkin in whatever color they chose and then drew a face in yellow, or in Little L's case - just drew happily all over the paper.
IMG_7723 IMG_7724 IMG_7729 IMG_7732
When they were finished coloring, I soaked the paper in water for a few minutes so they could paint using the wet-on-wet method over the crayon. Instead of mixing an orange paint for them I gave them each one jar of red paint and one jar of yellow paint (stockmar, again). This way they could see how colors are made for themselves. Little L is too young to instruct in painting so he just did his own thing but I had C first paint her pumpkin in red and then she painted over the red with yellow.
IMG_7742 IMG_7746 IMG_7748
As you can see, the paint first completely covers the crayon marking but then it magically disappears only seconds later. Once they were done, I kept the pumpkins flat on their painting boards and let them dry. This is how they looked upon completion:
IMG_8041 IMG_8034 IMG_8038
I love the way the colors mixed and moved on C's. That's the beauty of wet-on-wet watercolor painting!

A new lantern idea popped in my head today for Martinmas. It's inspired by beeswaxing autumn leaves. I will try to complete one before Martinmas and share the tutorial with all of you so you can make one too!

-------------------------------------------------------------
Don't forget to enter for your chance to win a beautiful hand knit bunny here!
Share/Bookmark
Related Posts Plugin for WordPress, Blogger...