I apologize for the quality of the photographs and that some of them are different sizes. That's how they were saved in my e-mail for whatever reason.
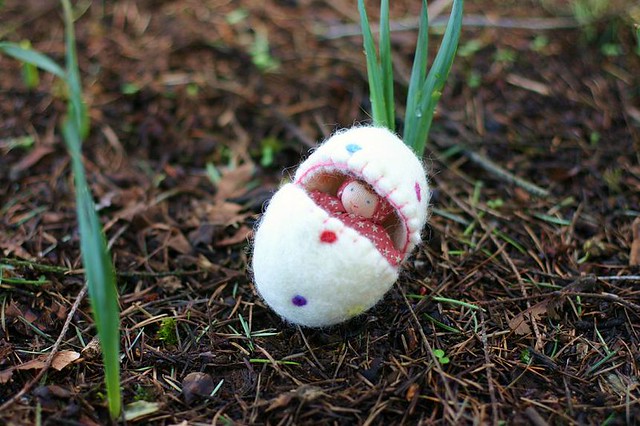
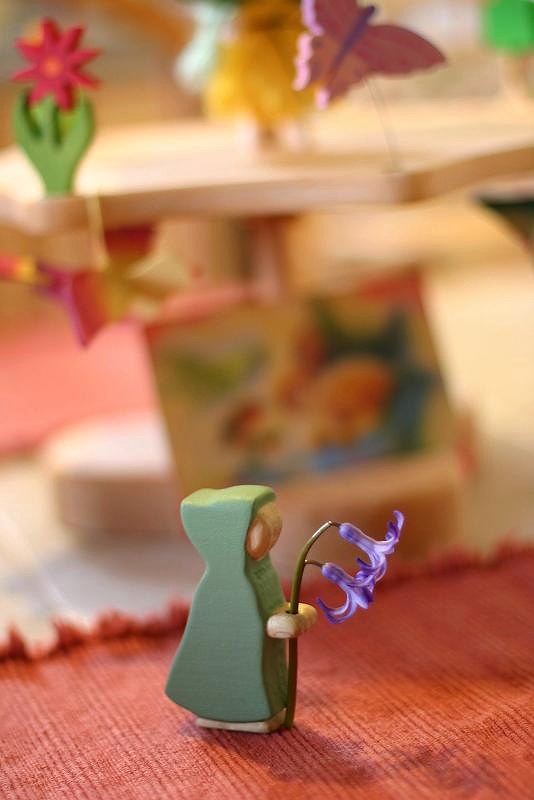
One of my family's favorite yearly rhythms is the arrival of Spring. My children look forward to it more than any other day of the year. That is the day the Root Children visit our home in celebration of returning above ground to play.
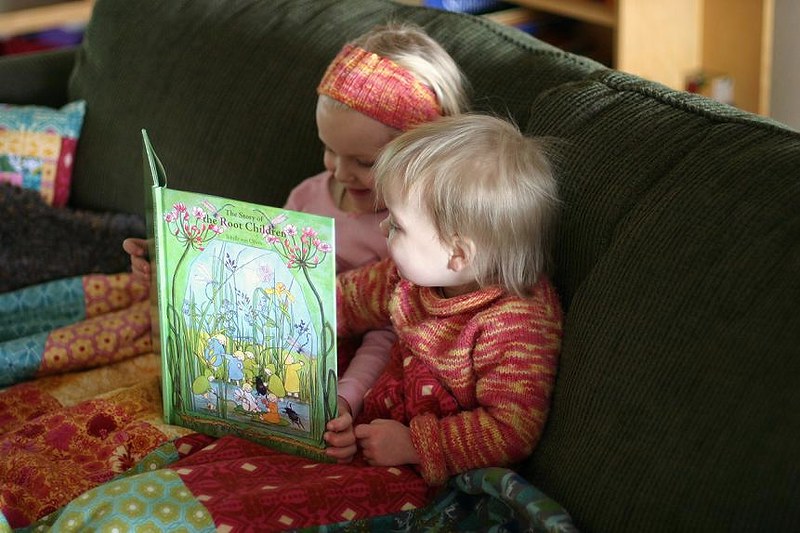 Staying true to Waldorf holiday traditions, we start preparing about a week before the actual day by getting out our copy of 'The Root Children' by Sibylle Von Olfers and reading it every night before bed. I can see my little ones' anticipation build every time we read it, as they wait excitedly for spring to come. My oldest will often update me on what the Root Children living underground in our own yard are doing. She will see a flower emerging from the ground and tell it to wait until Mother Earth opens the door before it can blossom, or she'll see a beetle outside and tell me the Root Children just finished cleaning him and let him above ground to dry off.
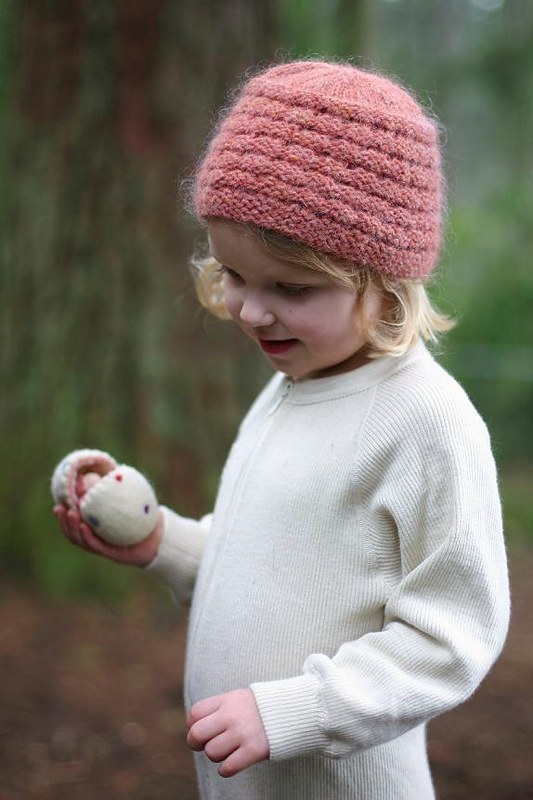
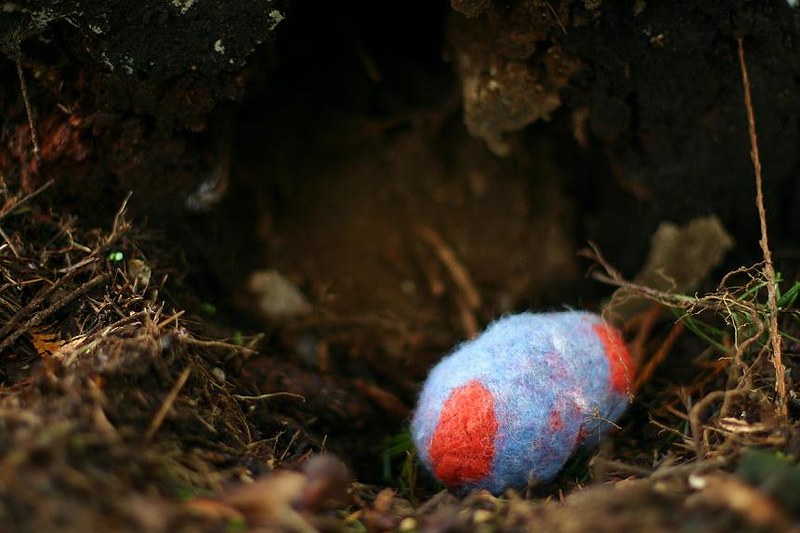
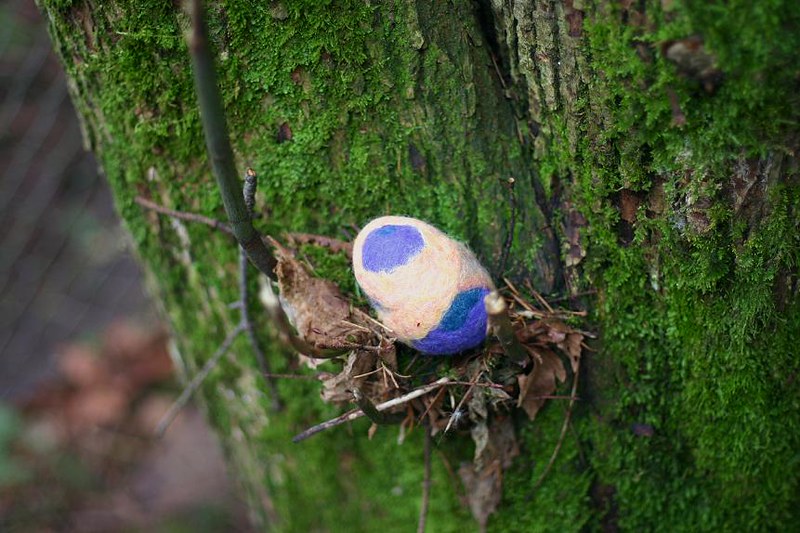
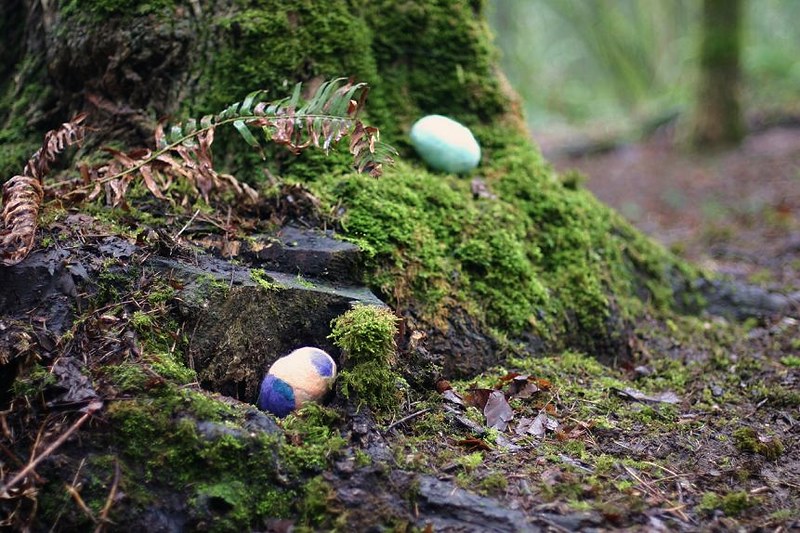 Here are simple instructions for making your own wool felted eggs to celebrate spring's arrival (or Easter!). You can do this alone to surprise your little ones, or you can have them help. This is a great craft for children of all ages. My youngest loves to play with the wool in the 'bubble water.'
Supplies needed:
- natural dish detergent (we like to use Seventh Generation)
- a large bowl
- hot water
- wooden eggs OR plastic easter eggs taped shut with packing tape or duct tape
- a washboard or bubble wrap
- wool roving in colors of your choice (we try to use bright colors so they really stand out when hidden in our yard)
- scissors
Instructions:
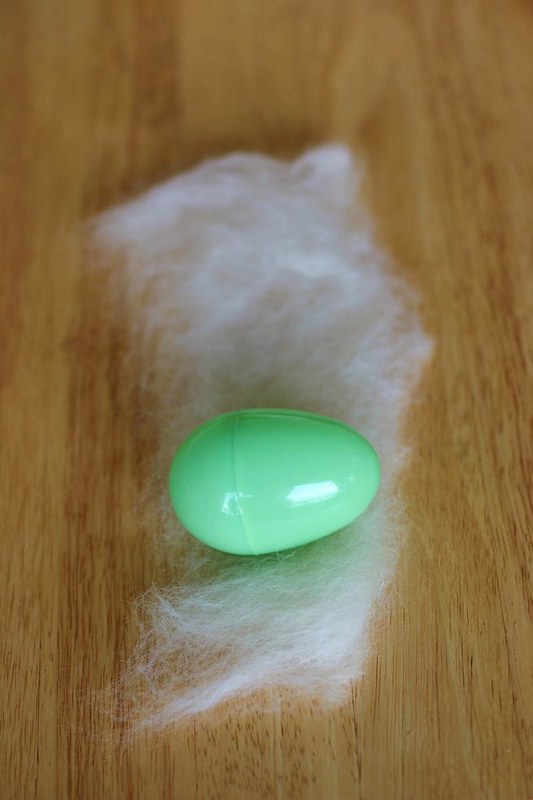
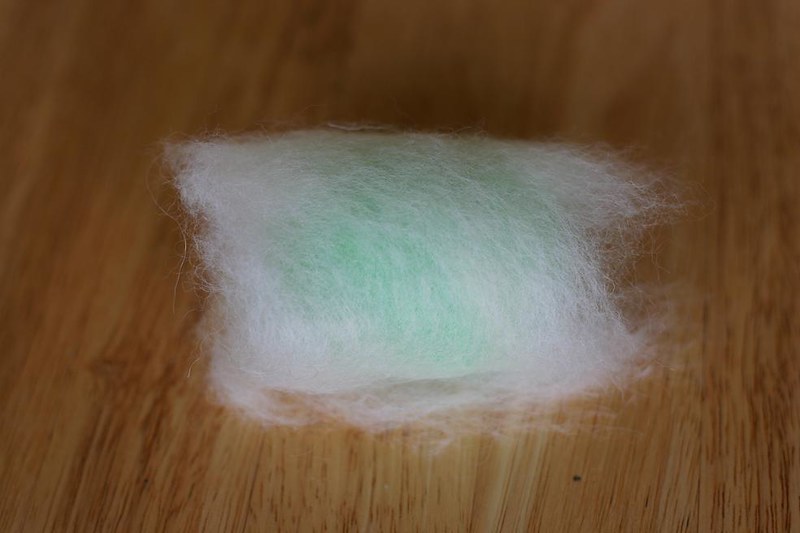 Wrap the plastic (or wooden) egg in a thin layer of wool with it all going in the same direction. Use just enough wool to cover it. Next, wrap or lay cross-ways another thin layer of the same wool or another color. The important thing here is to criss-cross the wool so that the fibers will lock together.
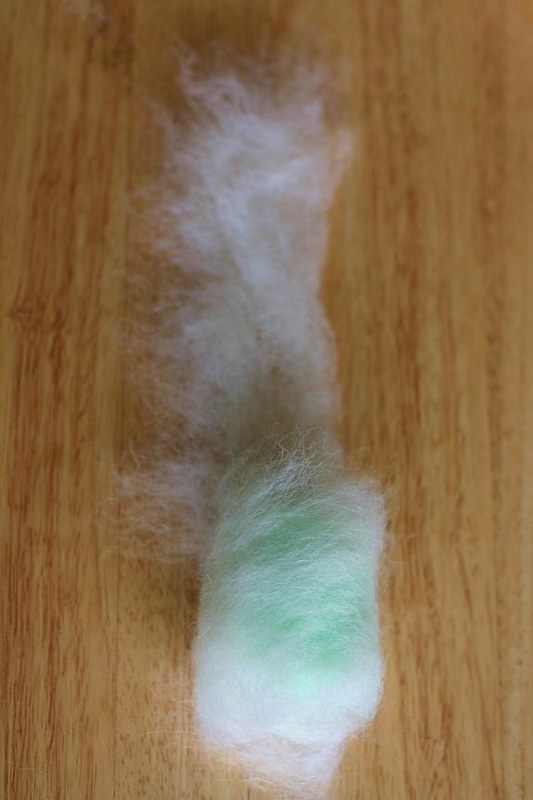
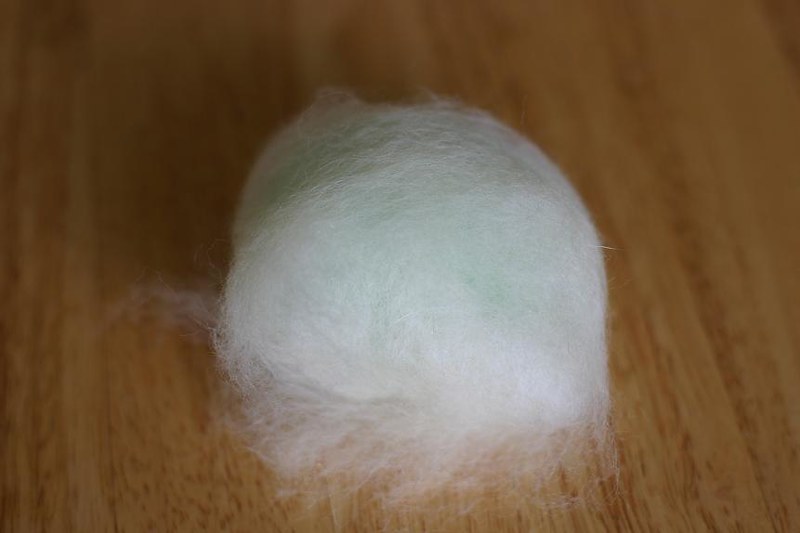 Now that your egg is ready to felt, prepare your bowl by adding a few drops of dish detergent and some hot water. The hotter the better but if little ones are going to be helping, make it more on the warmer side. Swish the water and detergent around to thoroughly mix together.
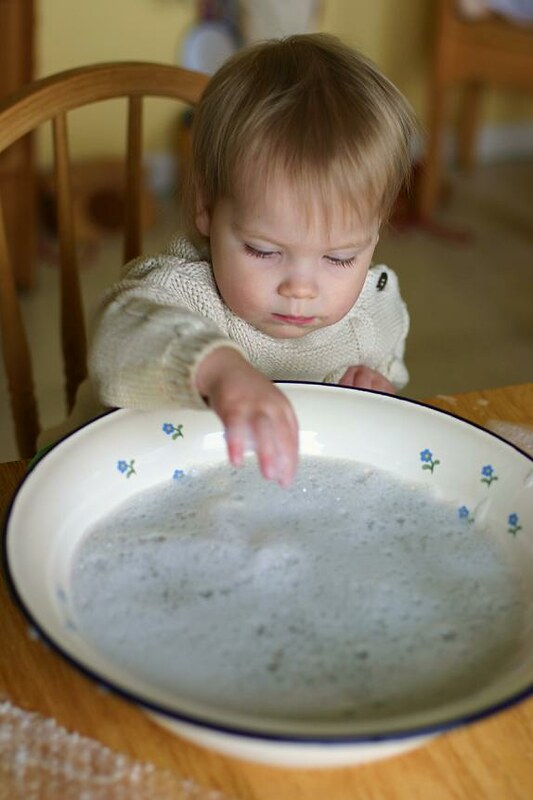
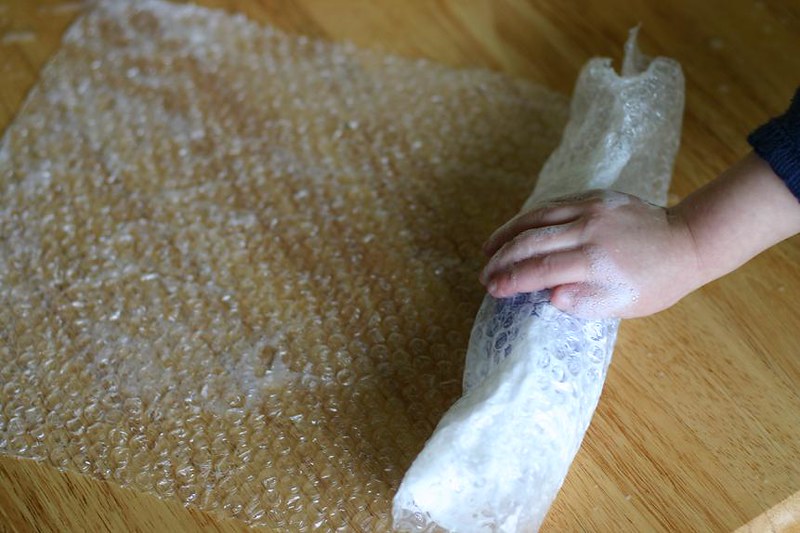 After those first layers have fully felted you can add more layers one at a time, and just felt each layer as you did the first. I have found that adding many layers of thin wool is easier to work with than a few thick layers, so after each layer seems tough and felted I add another thin layer going in the opposite direction of the past layer. There really is no right or wrong with how many layers to add just continue adding until you are satisfied. Just remember : the more layers you add the sturdier your egg will be.
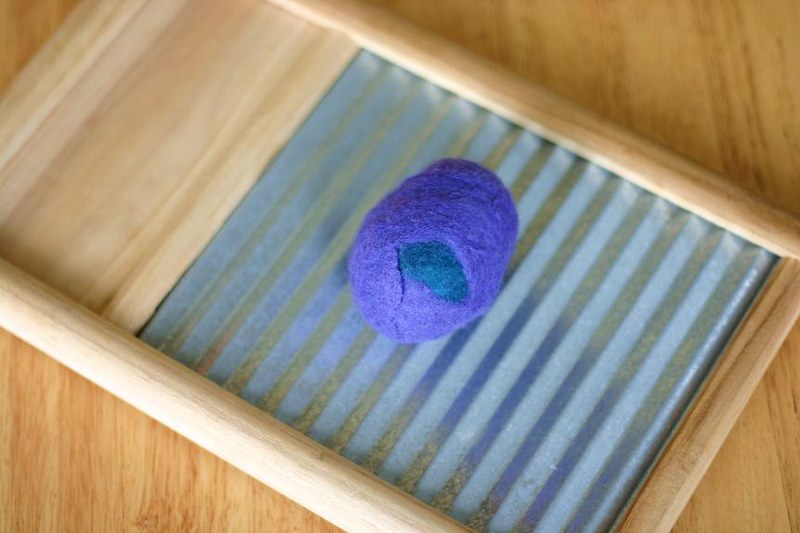 One tip I learned recently is if you don't feel that the egg has felted well enough you can put the felted egg into the toe of a pair of pantyhose and knot them right above so it can not move and run it through your washing machine on a HOT rinse cycle.
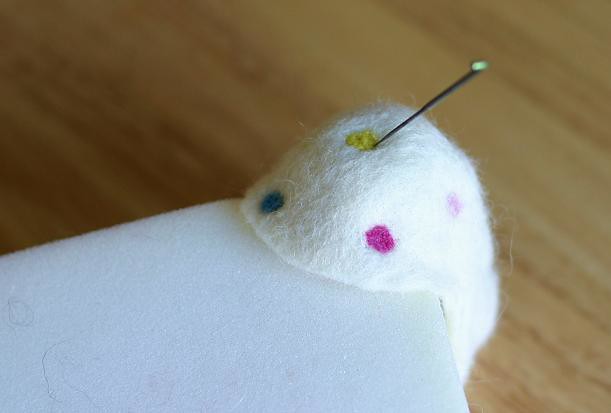
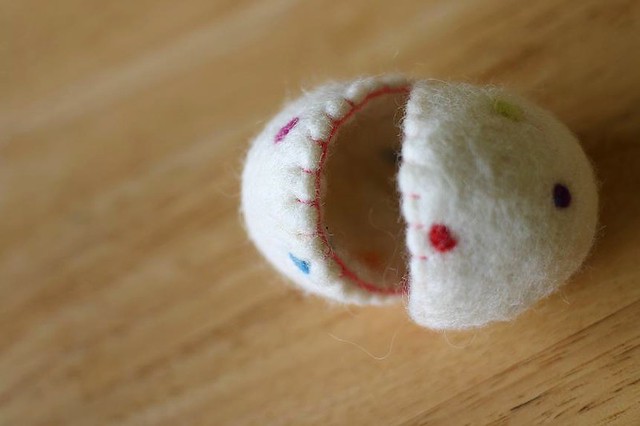
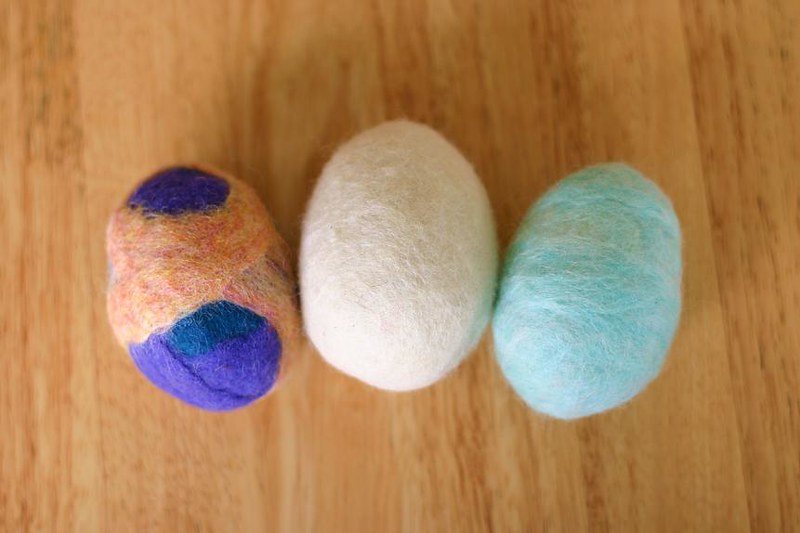 Once you feel it has enough layers, rinse your felted egg in cold water to remove any of the left over detergent and then let it dry thoroughly, this usually takes a day or two. Once dry, you can add designs to your egg by needle felting them on, or leave them as they are. To remove the plastic (or wooden) egg from inside the felted egg, cut horizontally in a straight line or zigzagged (so it looks like the egg was cracked open) about halfway to 3/4 of the way up the egg . Make sure you cut only a little more than halfway around the egg. If you cut it open too much you risk it ripping from excited little hands.
