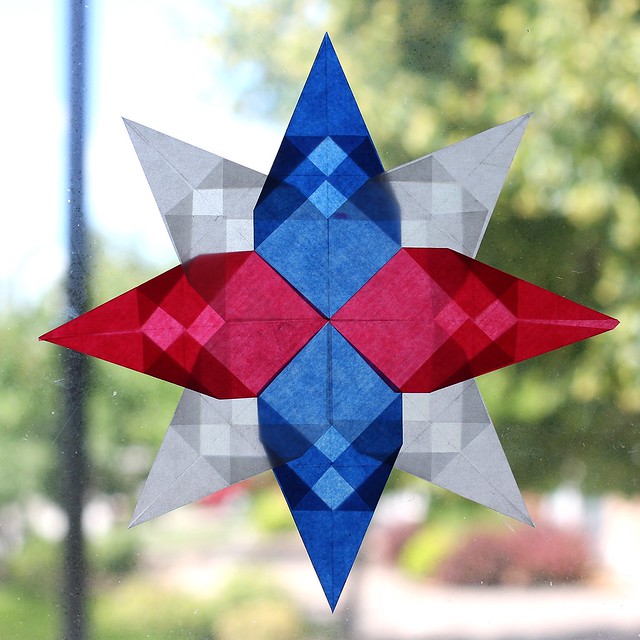
Just in time for fourth of July- a red, white and blue window star! You don't need to be teaching geometry in a Waldorf school (when these are typically made) to decorate your home with them. This tutorial shows the basic checkered pattern window star, which is one of my favorites and is also a good pattern to start out with if you haven't made a traditional Waldorf window star before. I decided to not do the traditional order of red, white, blue because I didn't want the blue and red to overlap making a purple design in the star. We used kite paper to make ours but tissue paper would work, too.
While they are not necessary, a rotary cutter and mat really do help with this project. For years I have been using a ruler and scissors to create my window stars but my squares never turned out even so they always lined up funny making my stars rather wonky.
Supplies needed:
-glue stick
-rotary cutter and mat or ruler and scissors
-8 squares of kite paper or tissue paper, 4 of them in white, 2 in blue and 2 in red. I cut my squares 3" x 3", this made the finished star about 8 1/2 ".
Let's begin:
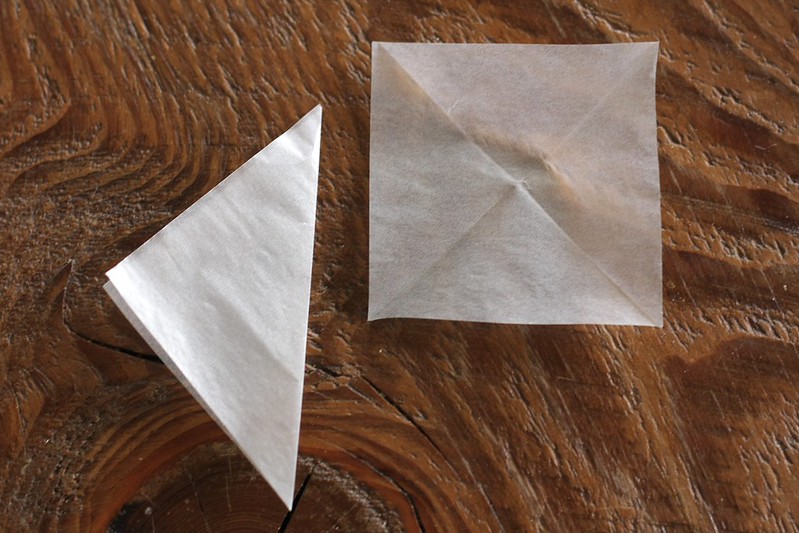 Step 1 - Fold your square corner to corner, and then again on the opposite corners so it have creases that create an X.
Repeat this and all of the following steps with your other 7 squares.
Step 1 - Fold your square corner to corner, and then again on the opposite corners so it have creases that create an X.
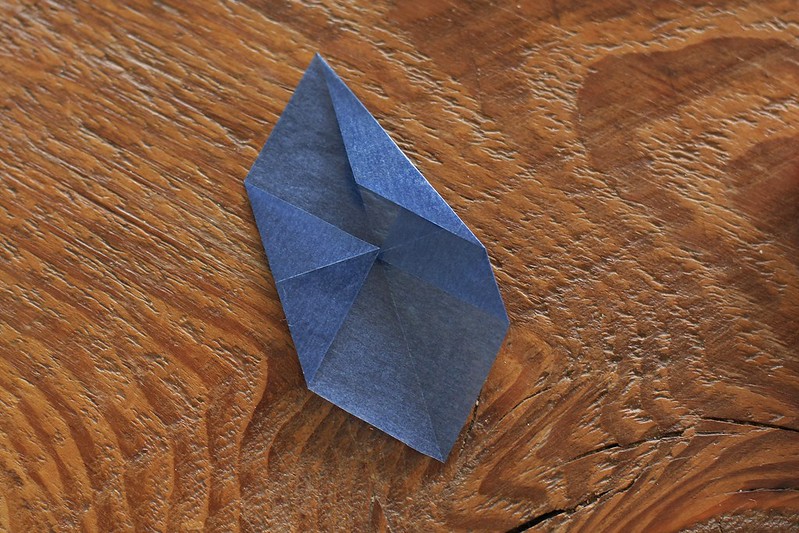
Repeat this and all of the following steps with your other 7 squares.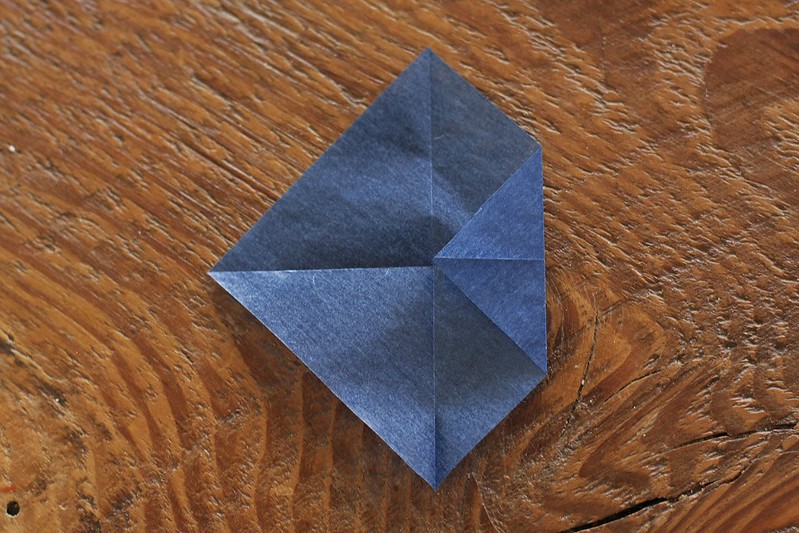 Step 2 - Now fold one corner so the point is touching in the center.
 Do the same to the opposite corner. Make sure the two corners line up so you don't end up with a crooked pattern.
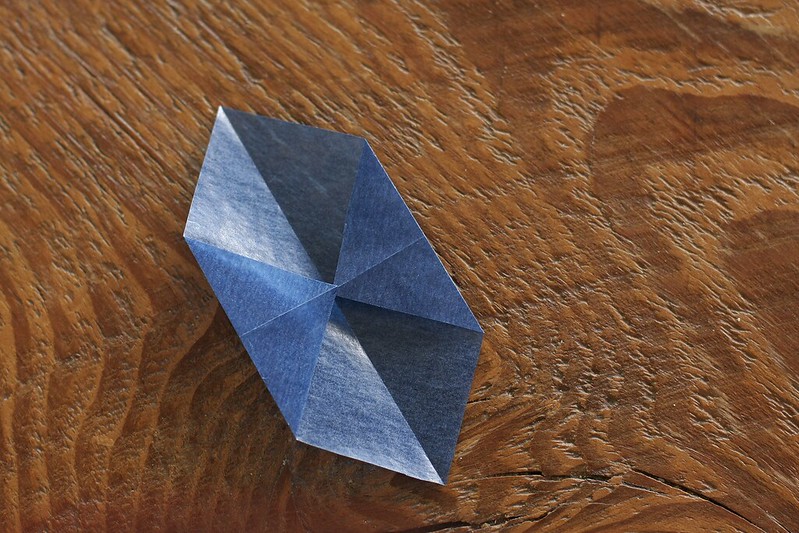
 Step 3 - Fold the top toward the middle on one side.
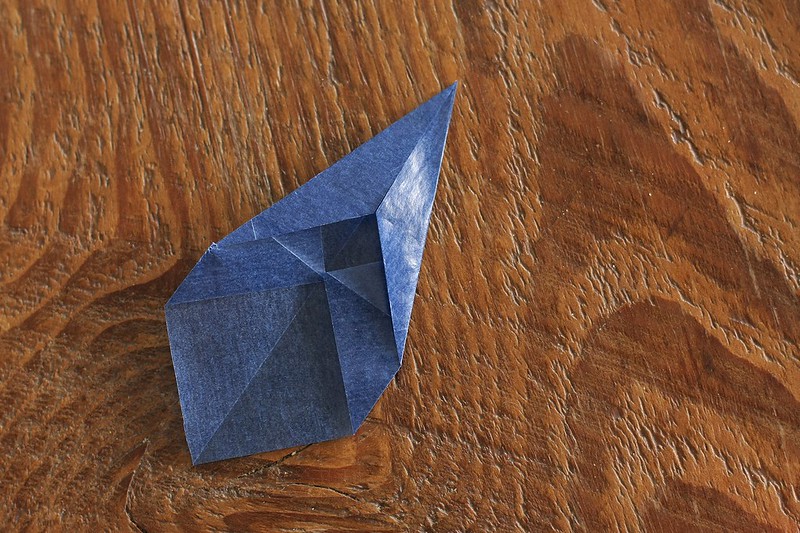 Do the same on the opposite side, again make sure they line up nicely.
Although you can see in my red square below, I didn't do the best job lining them up.
Do the same on the opposite side, again make sure they line up nicely.
Although you can see in my red square below, I didn't do the best job lining them up.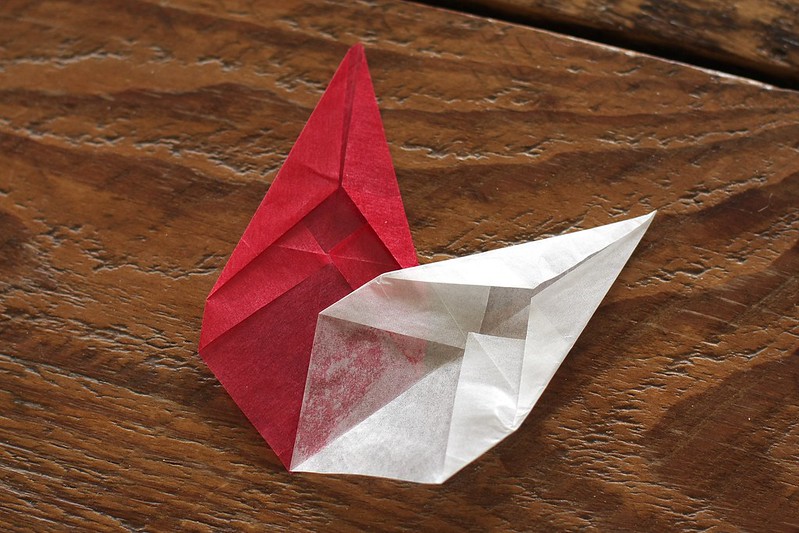 Step 4 - Now you are ready to put your eight folded pieces together. Take a white piece and with your glue stick, glue it on top of a red piece along it's crease.
 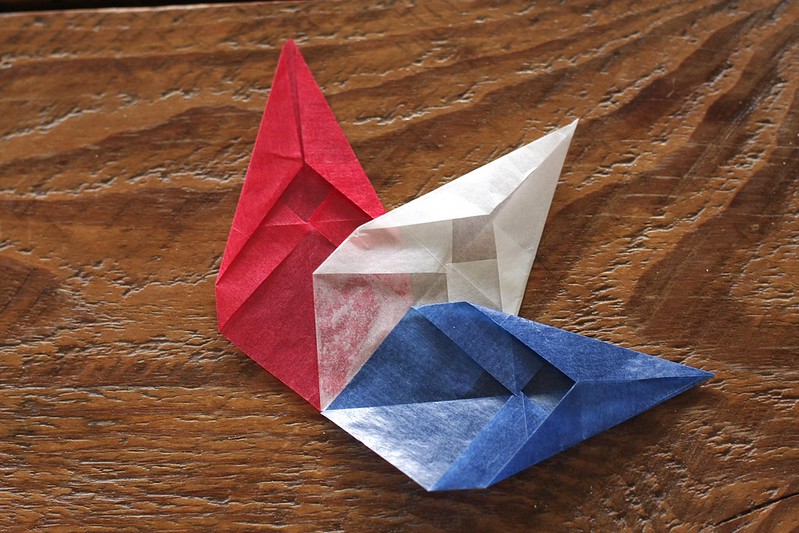 Add a blue piece on top of the white piece, again, lining it over the crease.
 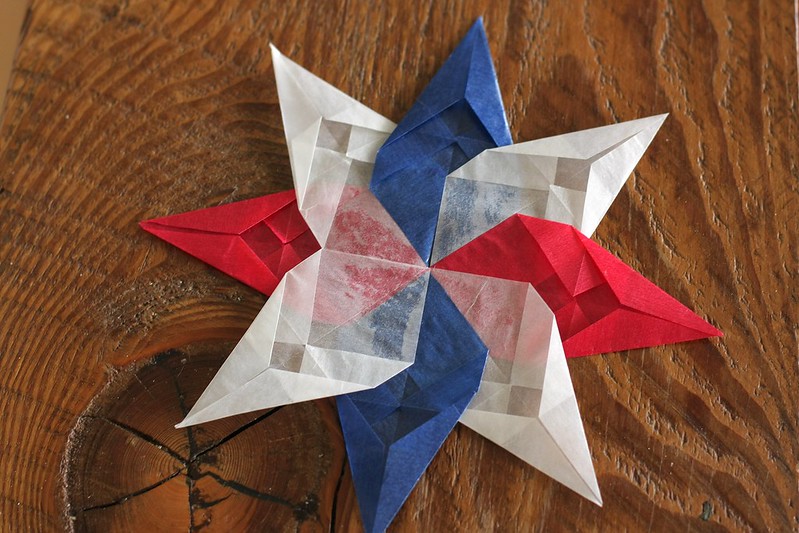 Continue in this manner following the color pattern of red, white, blue, white, red, white, blue, white, until all 8 are glued on.
 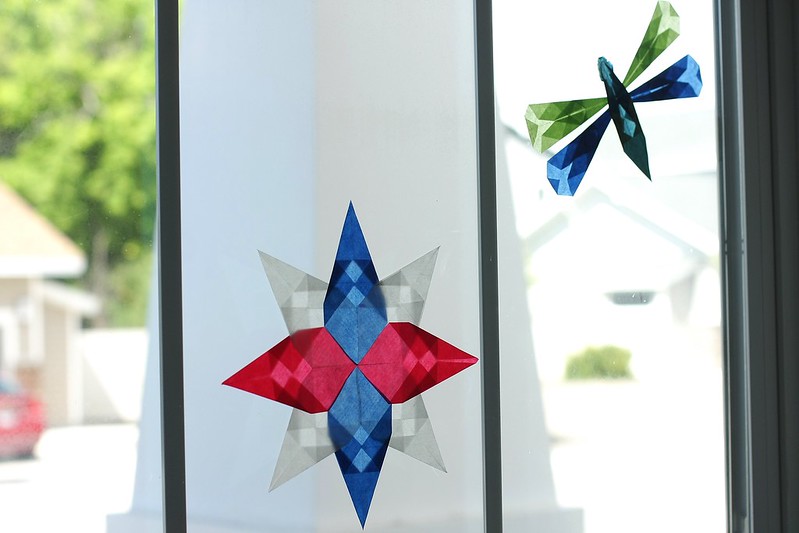 Put a small dab of glue on each star point, hang it in you window and watch it's true beauty unfold as the sun's rays shine through it.
Enjoy!
Put a small dab of glue on each star point, hang it in you window and watch it's true beauty unfold as the sun's rays shine through it.
Enjoy!