With that in mind, I thought I would share another little craft the girls and I made last week.
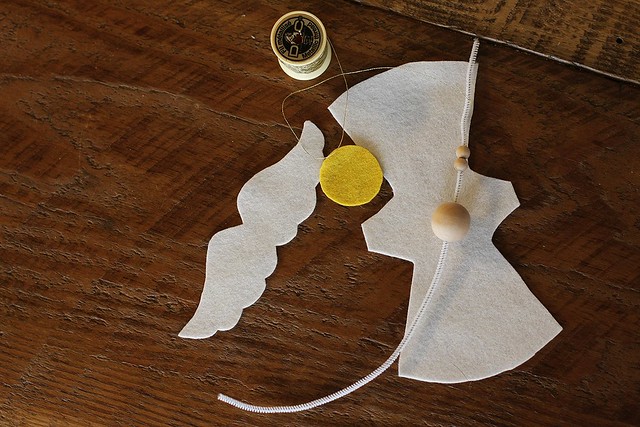
Supplies needed:
-wool felt in your choice of colors for the angel's body, wings and halo
-embroidery floss (or gold thread)
-a small amount of wool to stuff her with
-craft glue
-sewing needle
-scissors
-wool roving (for the hair)
-white chenille stem (for neck and arms)
-1 20mm wood bead (for head)
-2 5mm wood beads (for hands)
and if you choose to make a star staff as we have you will also need yellow modeling beeswax and a small wooden dowel.
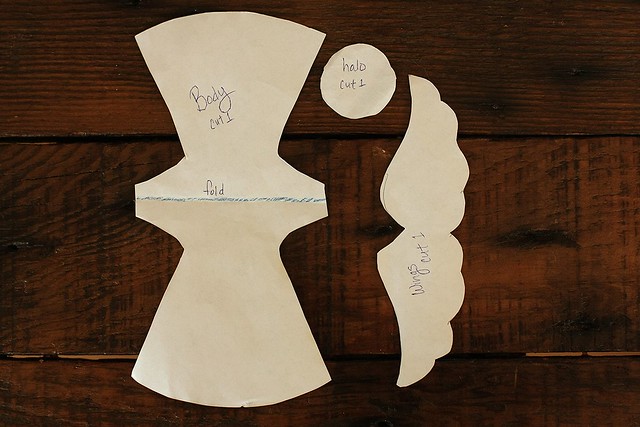
{Template}
Cut out one of each piece in wool felt. You can really make the angel in any size you desire but our pieces measured the following sizes: halo - 1 1/2", wings - 6" wide, body a little over 7 1/2" (that is for the full cut out piece, not folded in half)
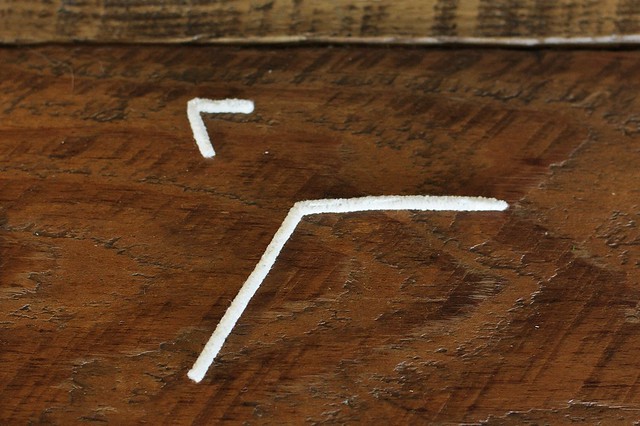
{Create neck and arms}*Warning neck piece shown is too short! Please ignore it*
Cut chenille stem the length of the angel's arms plus an extra half inch. Then cut another piece of chenille about 1 1/2" long for the neck. Find the center of each piece by folding in half.
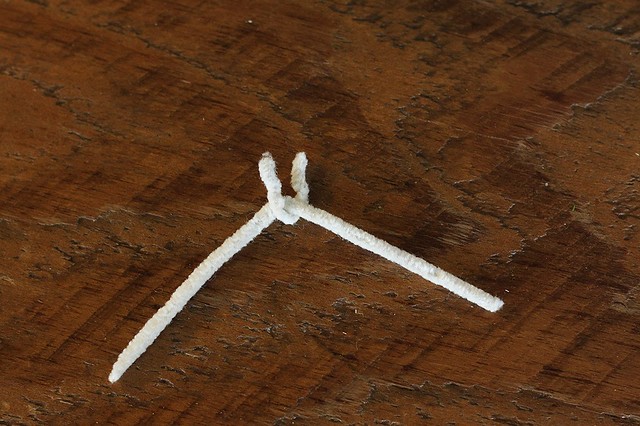
Open the pieces back up and place the center of the smaller neck piece in the center of the arms piece, with the points of the neck piece facing upwards. Twist the neck piece tightly around the arms piece to form the neck.
{Attaching head and arms}
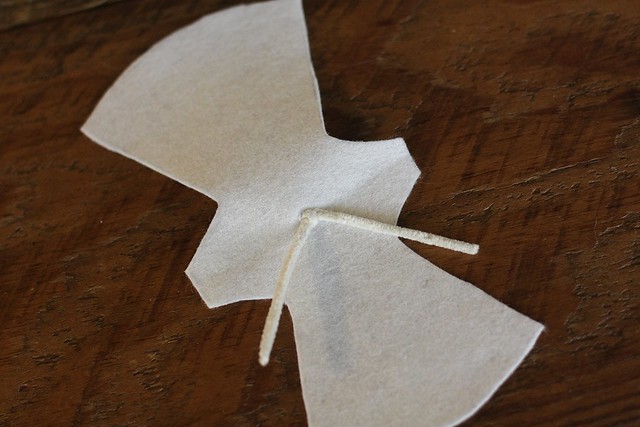
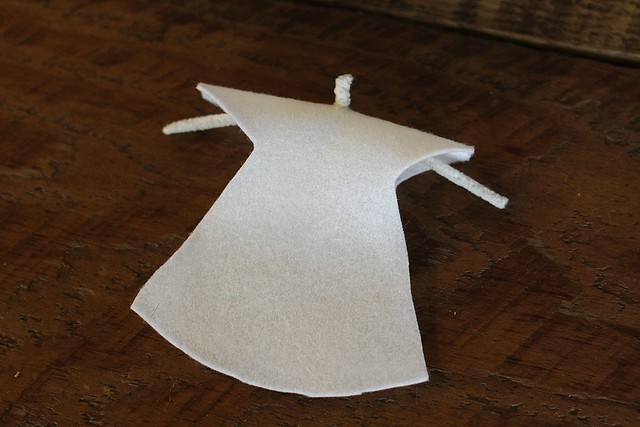
Fold your wool felt body piece in half on the fold line. Using your scissors, make a tiny snip in the center for your angel's neck. Then push the neck through the tiny snip from the inside and pull through.
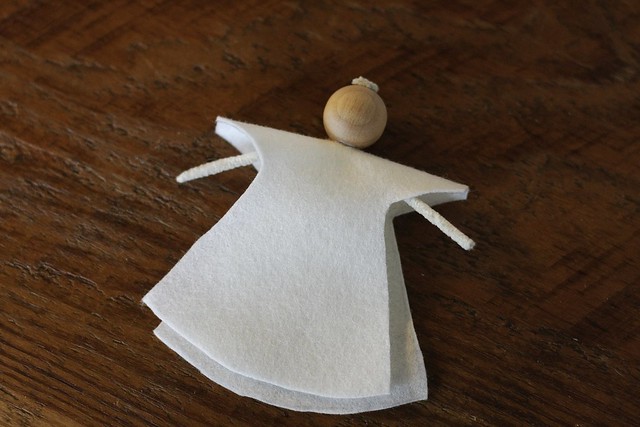
Glue the head bead onto the neck. Either fold over the excess chenille or trim it.

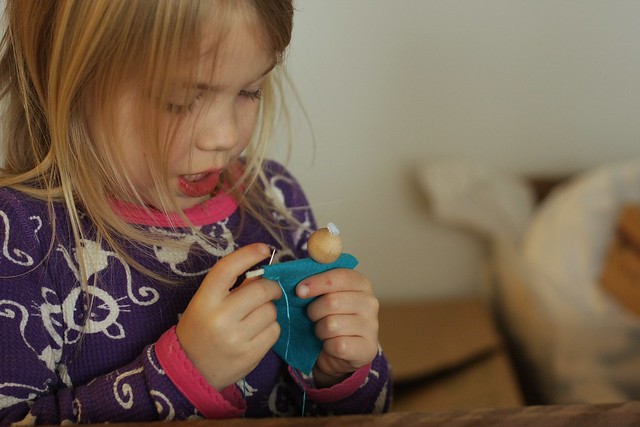
{Sew up the body}
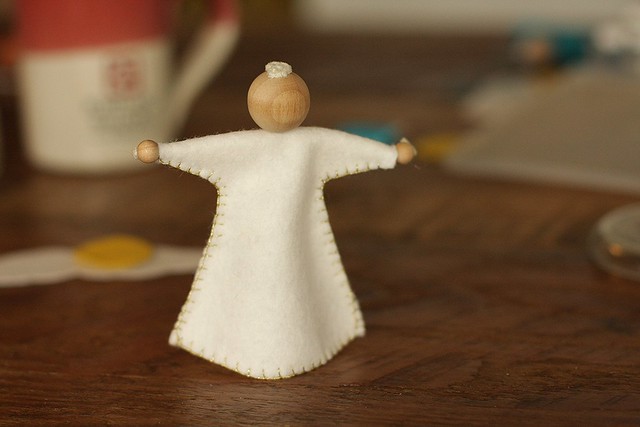
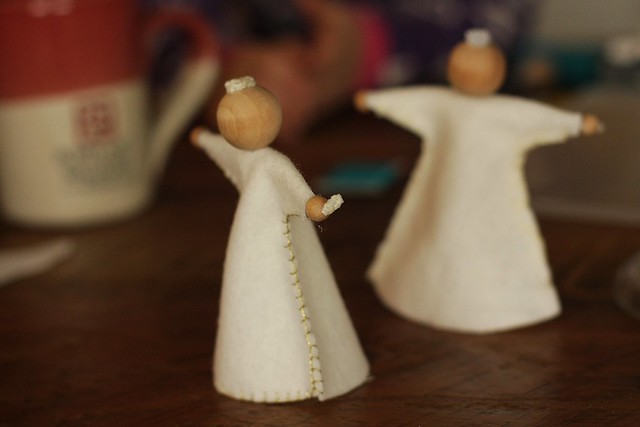
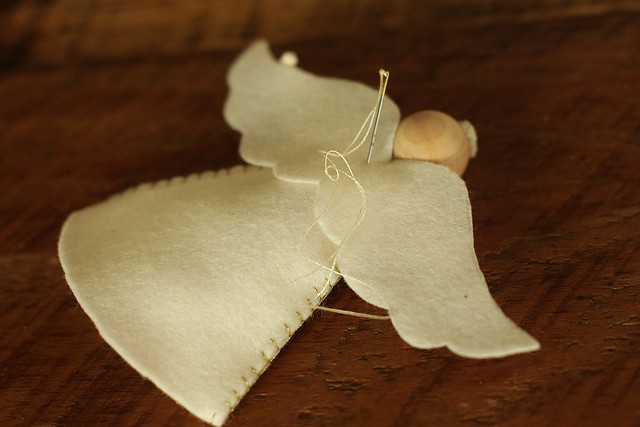
Separate your floss so you have three strands to work with and thread your needle with them. Start at one of the angel's hands and sew a blanket stitch down the length of her body. Repeat on the other side. You can also blanket stitch the bottom of her dress to embellish it more, if you like. Just make sure to only do piece at a time with that so you can still stuff her with wool at the end.
{Hands}
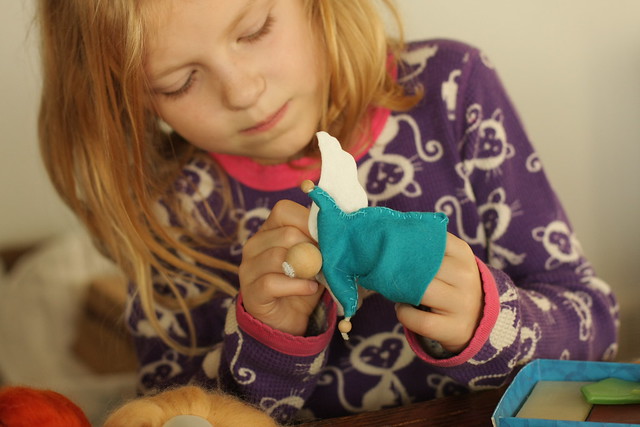
To make the hands, glue the beads onto the chenille sticking out of the angel's sleeves. Trim any excess chenille.
{Wings}
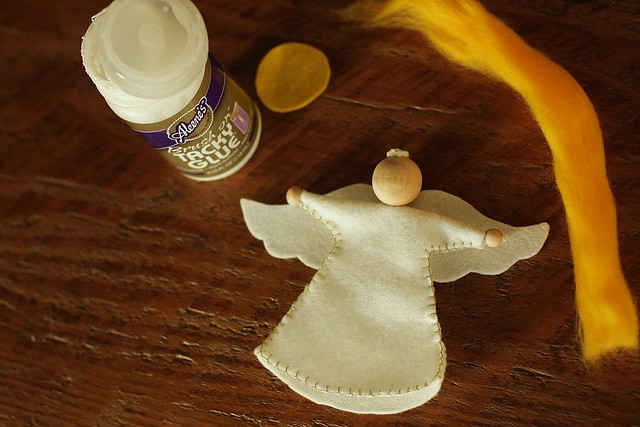
Sew the angels wings on by doing a simple running stitch down the center of the wing piece. After you have attached the wings, stuff a small amount of wool into the angel's upper body/chest area. This will help her to stand and hold her body up straight.
{Hair}
Cut a length of wool roving for the hair. You want the piece to be thick enough to cover her head but not so thick that it won't stick on with the glue. You can make it any length you want. I tend to cut mine long and then after it is attached to the head, I style and trim it. Apply glue around the top, back and sides of the angel's head, leaving the face open and then stick the roving hair on firmly. Add a small amount of glue to the roving on the center back of the head and attach the halo.
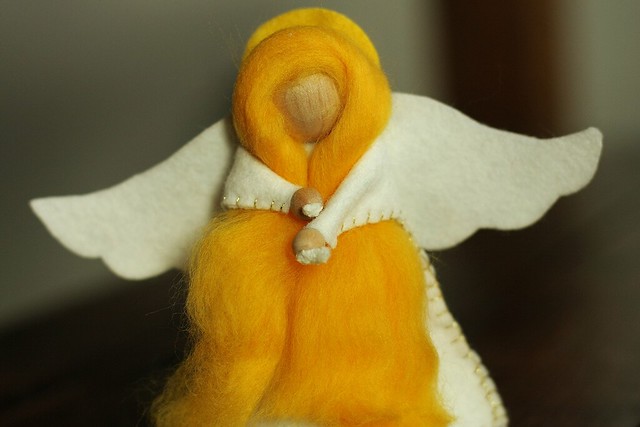
After we glued ours, we placed our angels on their backs and had them hold down their hair to help keep it in place while it dried. Let dry for a few hours and then come back and style your angel's hair. C trimmed hers and left it down, K did pigtails on hers and I did braided pigtails on mine.
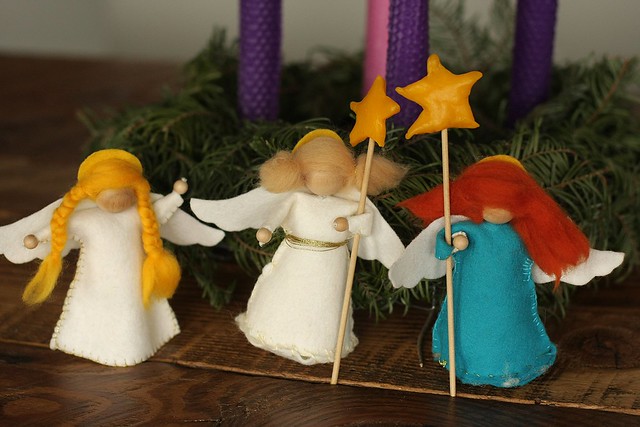
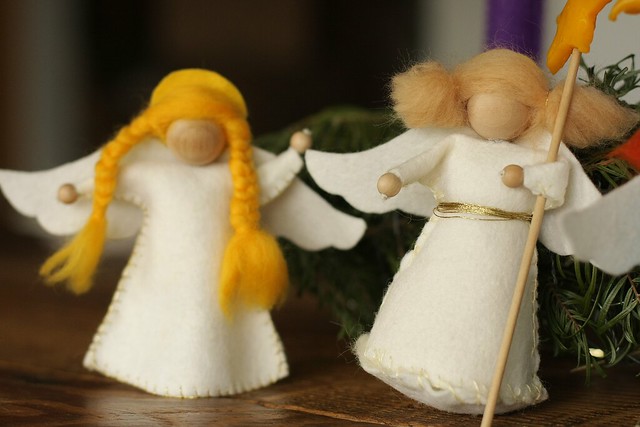
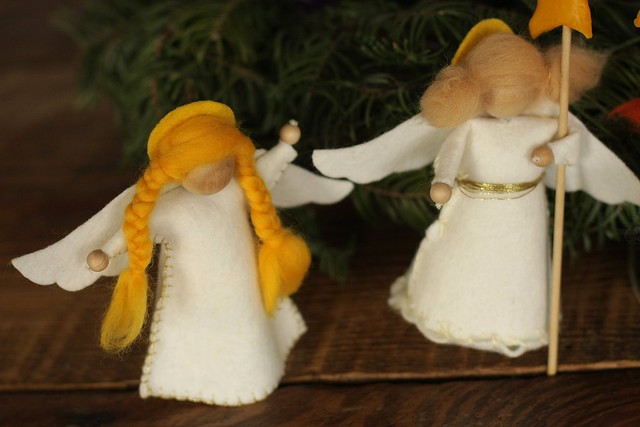
Tah-dah! Your angel is done! Use them as a decoration on your tree, in your Nativity scene, as a puppet or just as a decoration. The girls have been playing with theirs every day while mine is in a window in our living room.
I should add - The girls thought their angels needed a base to stand up so they sewed on a circle of wool to the bottom of theirs and then stuffed the whole angel but that ended up making it hard for them to stand so I wouldn't suggest doing that.
p.s - I apologize for the photos. I need to resize them to stop the annoying flickr slideshow and it appears that messes with the photo quality. Please bear with me as I still try to sort this out.


